
Remember when we found the $10 piece of white oak for R.E.D.’s weather station? (story here)
Our Go-To Wood Place
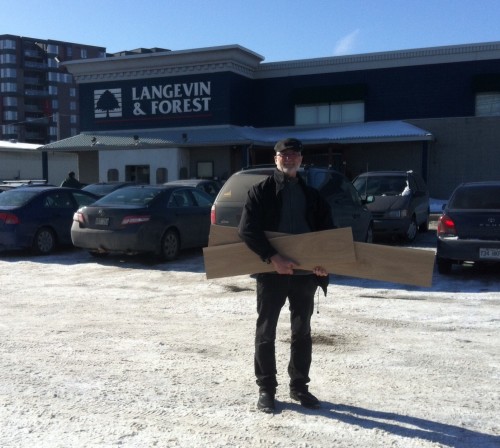
There was more than enough leftover wood for yet another project. It wasn’t high priority but when we visited an engraver last year to have a trophy prepared we thought…wouldn’t it be great to have a new name plate?
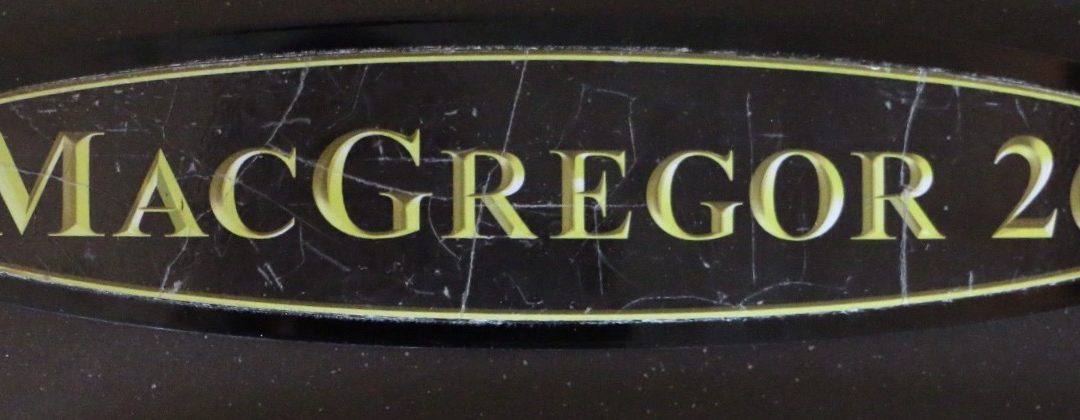
The Old
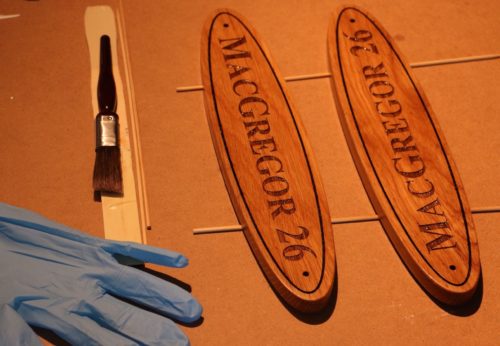
The existing plate, even though just three seasons old was looking really tired. We left the piece of oak at a woodshop for cutting and sanding (there’s only so much that can be done in a condo apartment), then the two pieces were passed on to our engraver. He scanned the original and worked his magic.
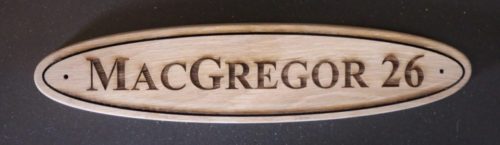
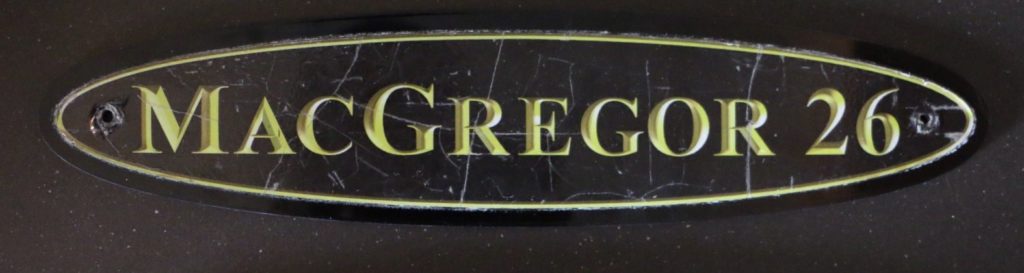
The New
The replacement was a work of art. Engraver and cabinetmaker were both very pleased with the results…as were we.
Primer
Francois used the same process of finishing as with rail and companionway door projects – primer, stain and four coats of Cetol (story here and here).
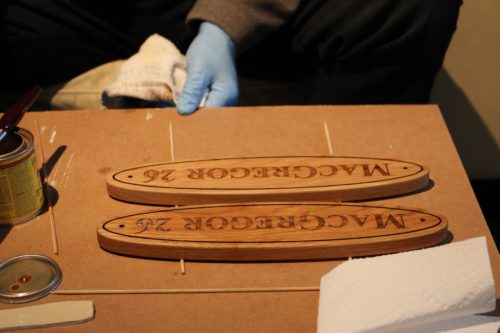
Stain
With time being at a premium this time of year and with the extra pressure of getting R.E.D. launch-ready, there had to be an easier and faster way of prepping/staining/Cetoling than to watch each stage dry, flip and repeat. Francois came up with a brilliant solution…toggle bolts!
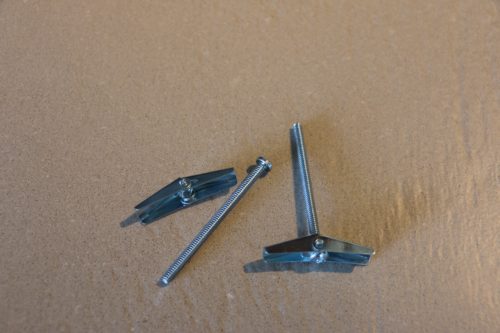
The Feet
It was one of those ‘why didn’t I think of this before’ moments.
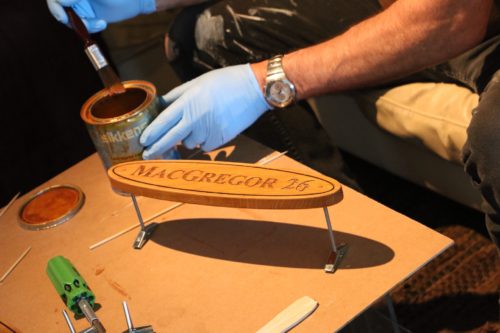
Cetol
Now with just days until spring launch, R.E.D. has her name plate in place, port and starboard.
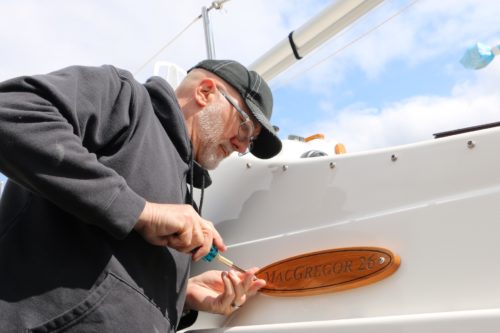
Butyl taped and secured.
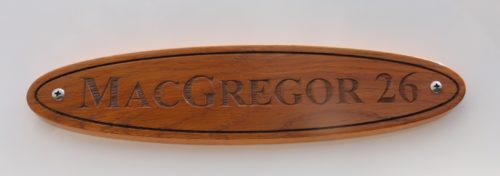
Proudly MacGregor
- White oak (5/8″ to avoid warping)
- primer (Minwax Pre-Stain Wood Conditioner)
- stain (Minwax Ipswich Pine 221 Wood Finish)
- Cetol (Sikkens Marine Light)
- paint brushes
- 4 SS screws
- 8 SS washers
- butyl tape
- 4 toggle bolts (optional)
- 1 trusted cabinetmaker (because we don’t have the space/tools)
- 1 trusted engraver
It looks terrific!
Thanks Beth
Beautiful and oh-so-classy! Happy sailing from Western Massachusetts!
Thanks Paul and right back at ‘ya, you lucky man on the Sound.