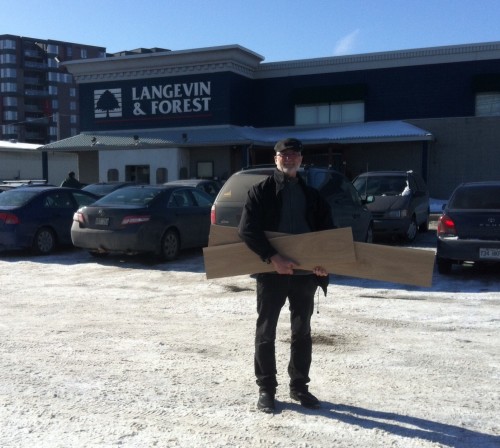
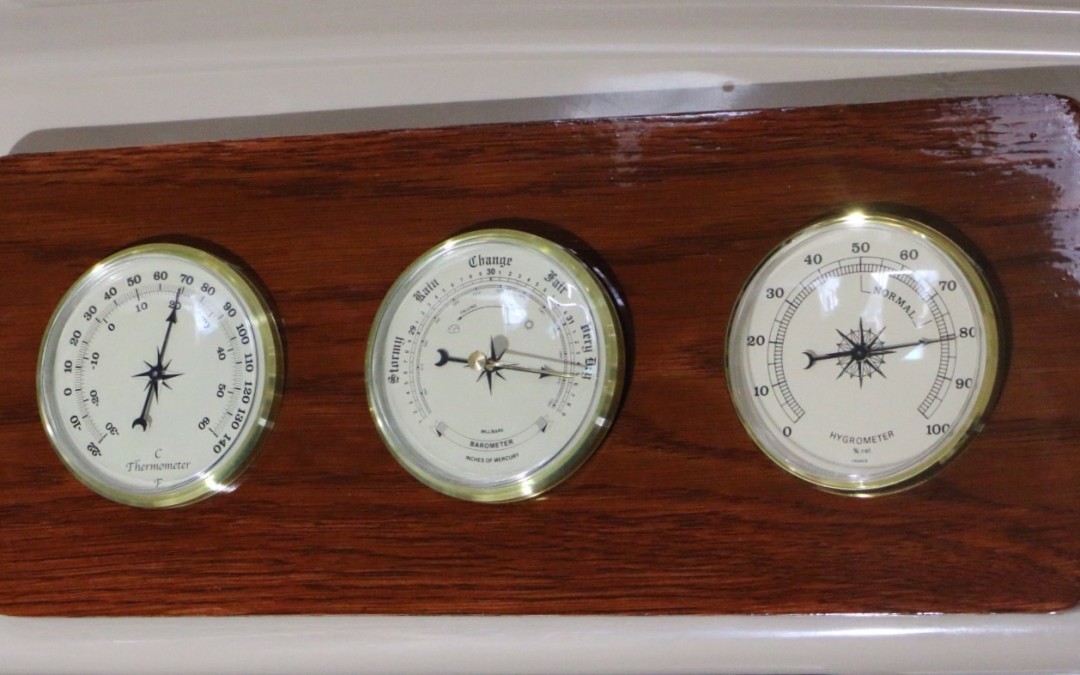
Remember when we found the $10 piece of white oak for R.E.D.’s weather station? (story here)
Our Go-To Wood Place
There was more than enough leftover wood for yet another project. It wasn’t high priority but when we visited an engraver last year to have a trophy prepared we thought…wouldn’t it be great to have a new name plate?
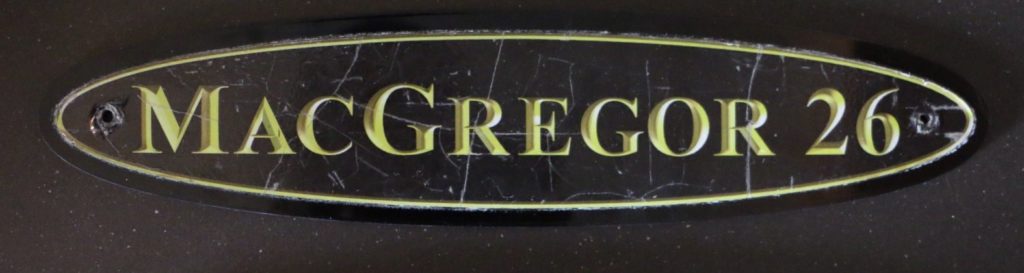
The Old
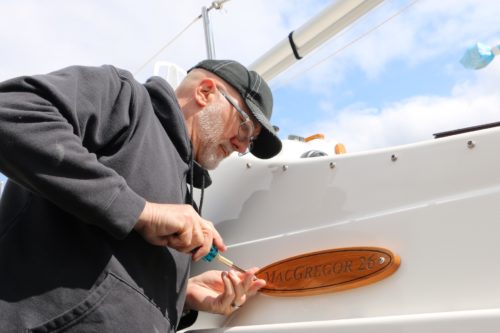
The existing plate, even though just three seasons old was looking really tired. We left the piece of oak at a woodshop for cutting and sanding (there’s only so much that can be done in a condo apartment), then the two pieces were passed on to our engraver. He scanned the original and worked his magic.
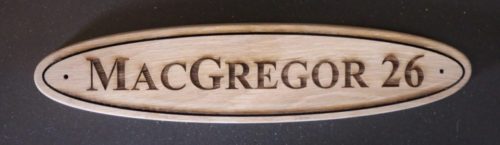
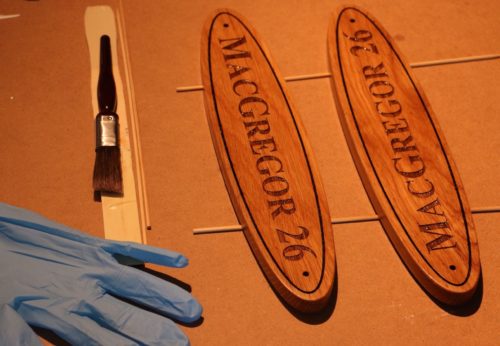
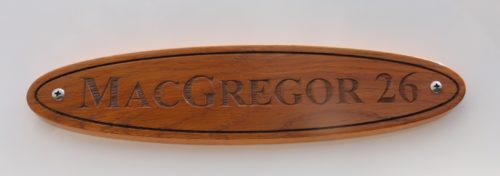
The New
The replacement was a work of art. Engraver and cabinetmaker were both very pleased with the results…as were we.
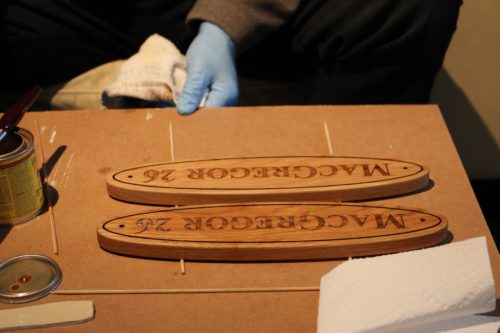
Primer
Francois used the same process of finishing as with rail and companionway door projects – primer, stain and four coats of Cetol (story here and here).
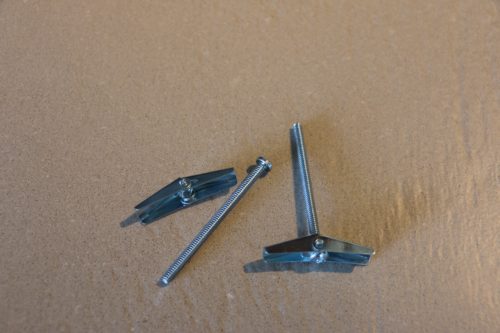
Stain
With time being at a premium this time of year and with the extra pressure of getting R.E.D. launch-ready, there had to be an easier and faster way of prepping/staining/Cetoling than to watch each stage dry, flip and repeat. Francois came up with a brilliant solution…toggle bolts!
The Feet
It was one of those ‘why didn’t I think of this before’ moments.
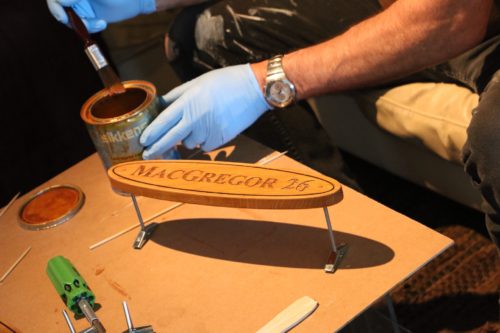
Cetol
Now with just days until spring launch, R.E.D. has her name plate in place, port and starboard.
Butyl taped and secured.
Proudly MacGregor
WHAT’S in a NAME
Ingredients
White oak (5/8″ to avoid warping)
primer (Minwax Pre-Stain Wood Conditioner)
stain (Minwax Ipswich Pine 221 Wood Finish)
Cetol (Sikkens Marine Light)
paint brushes
4 SS screws
8 SS washers
butyl tape
4 toggle bolts (optional)
1 trusted cabinetmaker (because we don’t have the space/tools)
This is a project we’ve been wanting to tackle for a while now and even though there has been no shortage of ‘additions’ for R.E.D. this winter requiring modifications, what’s one more?
We found a great piece of white oak at our local lumber yard. It’s really a very high end place and every time we visit we drool over the beautiful exotic woods…beautiful teak, wenge, tiger wood, mahogany. They also supply all the bells and whistles needed for any craftman’s hobby from fine carvings and beyond.
But back to our white oak. For last year’s wood trim project (link here and here) it was advised that if we didn’t want to mortgage our life away using teak that white oak was a great alternative as it is very resistant to moisture and was quite often used in ship building.
Wood Cost
Really! When you can walk away with a purchase for any boat and pay this little, it’s a good day. $10 for a piece that will serve this project and more than enough leftover for a couple more that Captain has rolling around in his head. The extra $10 charge was for plaining from 1″ to 5/8″ and cutting in two.
Our Go-To Wood Place
Now on to the making of…
We chose the piece that had the most attractive grain which will hopefully show up well when stained and finished.
White Oak
Onboard R.E.D. there is always enough cardboard for making design templates. We do love our beer and wine.
Template
Because we are cutting into an area which could have structural implications, a backing plate will be glued and riveted in place. A secondary benefit will be to soften the edging around the fibreglass so we won’t cut ourselves when accessing the hatch.
Backing Plate Design on Baltic Birch Plywood
Now we’re ready to go back to the boat to check that the template is accurate before cutting.
Door Front with Backing Plate
We had a little ‘discussion’ about the shape of the door – a conflict between Francois’ love of wood and my wanting to keep with the existing lines in the cabin. A compromise was reached (Francois’ interpretation: the Galley Kat won this one)
Measure Twice. Cut Once.
Holes in Each of the Four Corners ( 1.5″)
Dremel to Cut Fibreglass
Door Opening (5″ x 15″)
The foam core material was removed and relocated under our black water bladder, startboard V-berth.