We made this next improvement to reduce the battery draw while on shore power. Even when plugged into an AC source our Dometic CF50 cooler was always taking its power from the battery.
Original DC Plug
DC Plug Disassembled
The original cigarette lighter plug was canabolized for parts.
AC to DC Adapter
This 110V to 12V converter will be active when plugged on shore power. It has a backup connection for 12V which means if shore power is cut, it will automatically provide continual power from the battery to the cooler compressor (B- B+ connection)
Original DC Plug Now Attached to Permanent DC Terminals
Connecting to House (B) Battery
Ready to test
Attached in Galley
Some Supervision Required
Secured on Plywood Backing
Baltic plywood painted and mounted during last year’s galley project (here) made it easy to secure the adapter.
Plug to 110V GFCI Outlet
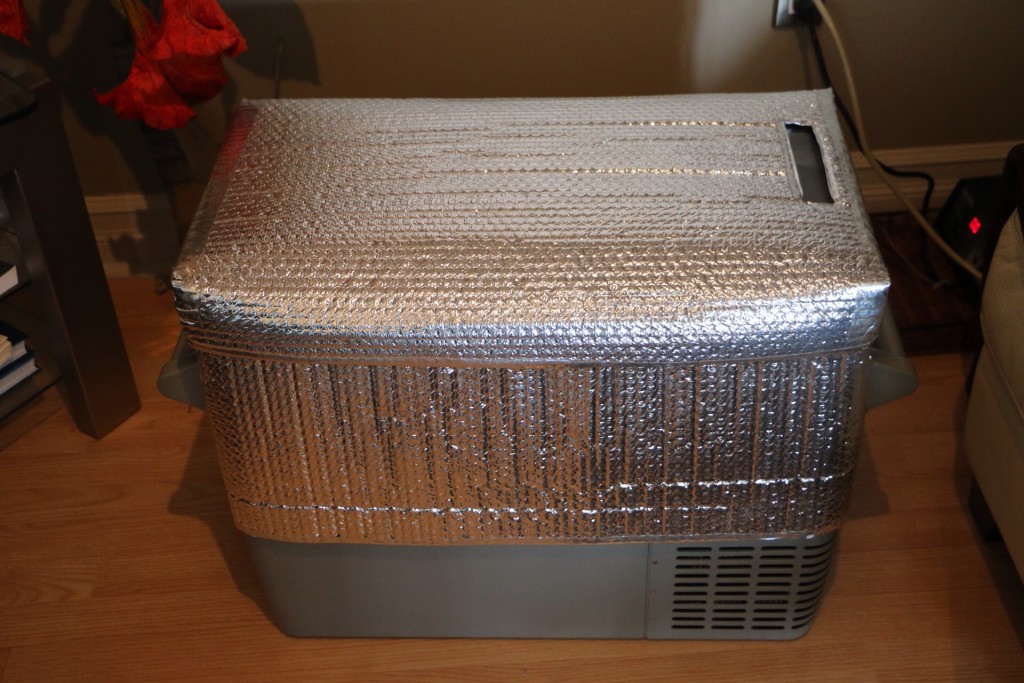
Cooler with its new mylar blanket (post of the making of here) back in place and ready for the season to begin.
Doing our best to conserve energy onboard R.E.D., it’s a delicate balance between what we ‘need’ and what we consume, constantly pushing to make things better.
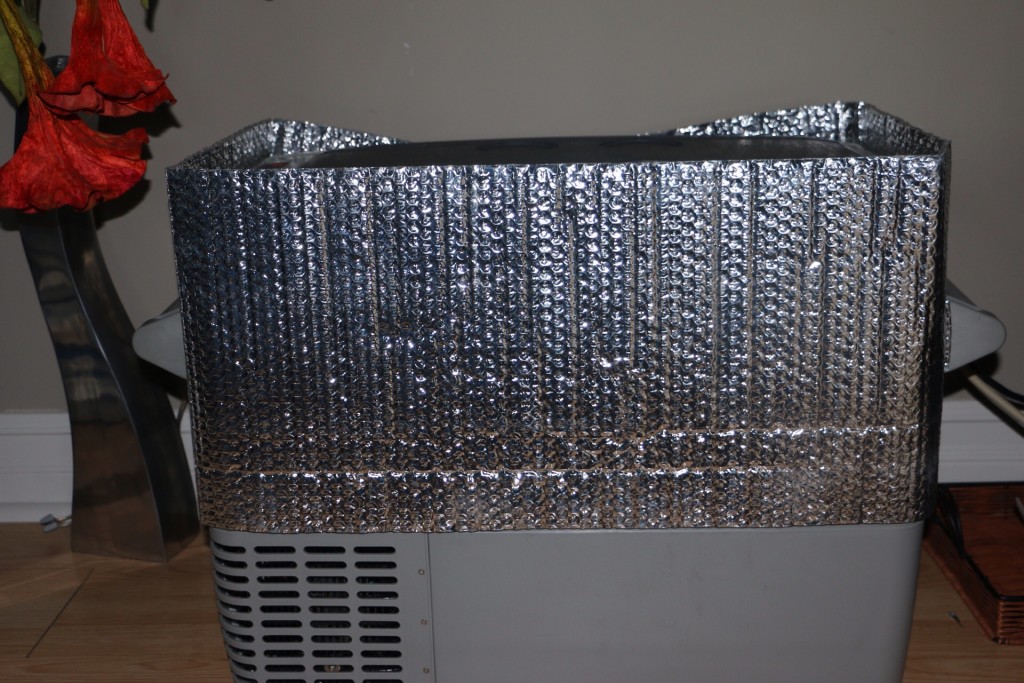
Even though the cooler (three-year old Dometic CF50) runs really efficiently as far a power draw now that we’ve corrected some electrical issues, it’s located just inside the companionway and on really hot sunny days we’ve noticed the compressor runninig a lot. Keeping the hatch closed has helped but this year I thought it may help further by insulating with some leftover mylar – our perfect solution last year to keeping the heat out of the cabin and giving us a bit of privacy too (check what we did here).
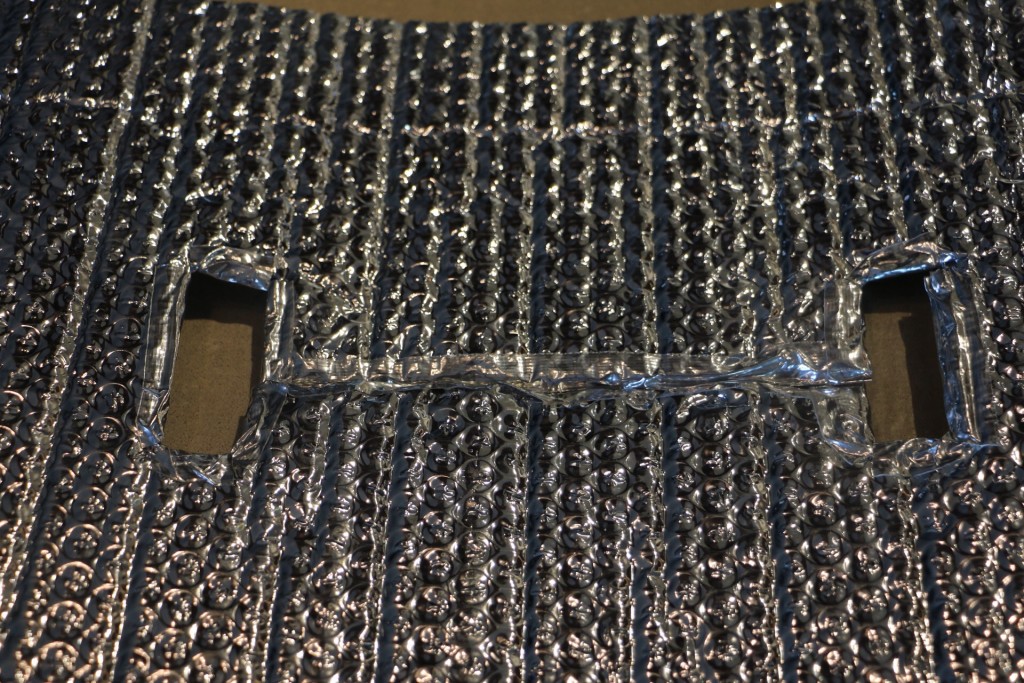
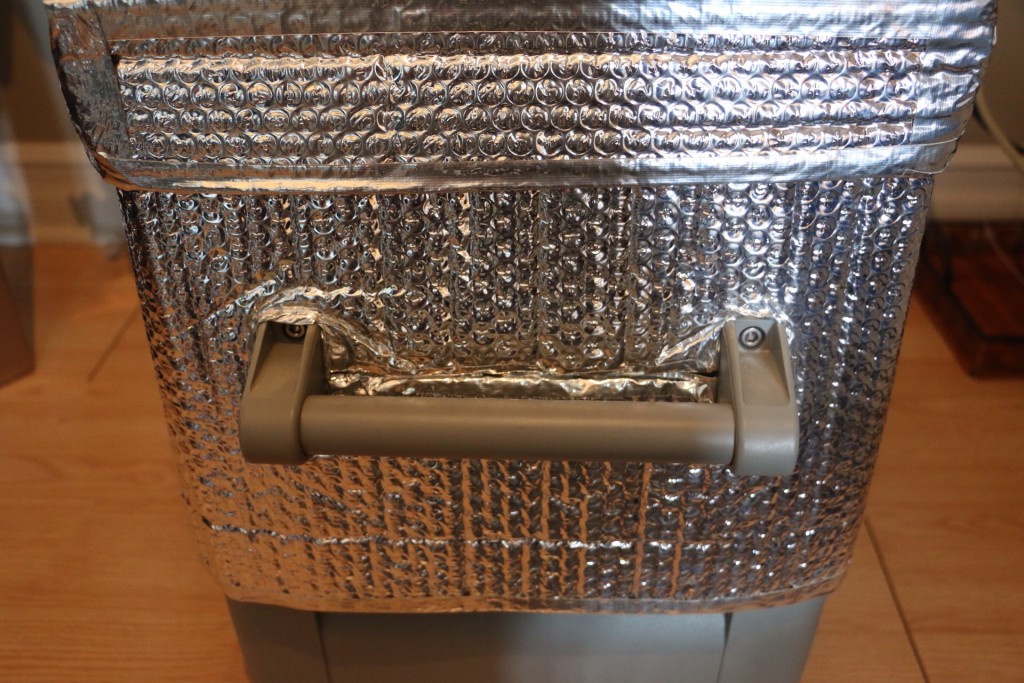
I started by cutting one piece to cover the body of the cooler with slits to tightly fit over each side handle.
Mylar Surround
Opening for Handles
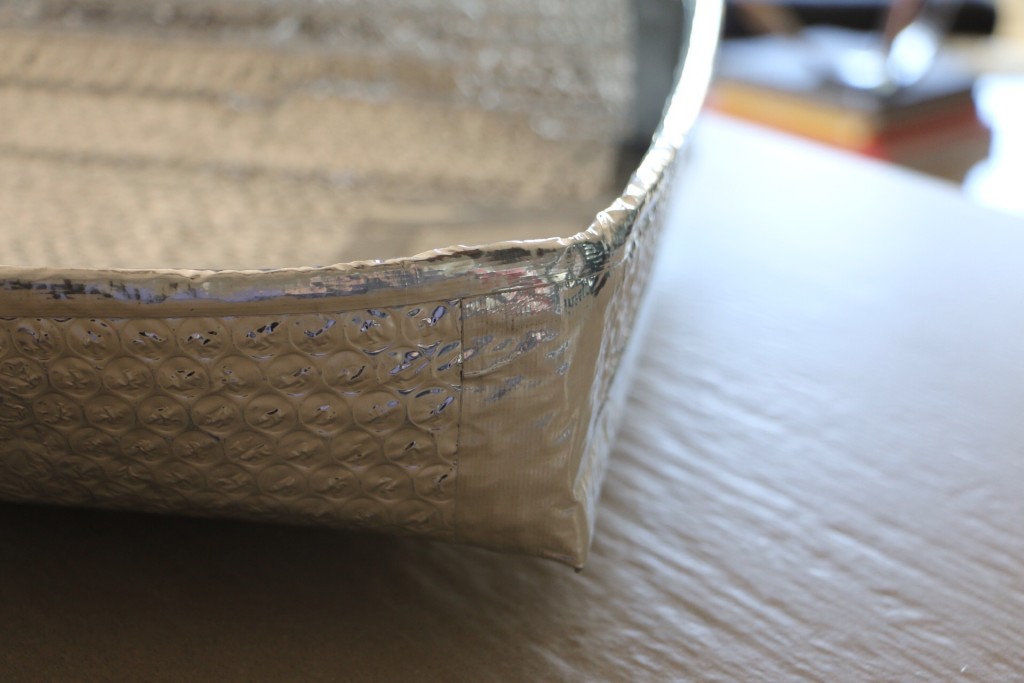
Next I cut a piece for the lid. Making it 2″ larger alowed me to be able to add a side strip to square off the two narrow sides to form a cap for the four corners. On the under side I used strips of Gorilla tape and shiny silver Duck Tape on the outside to make smooth seams.
Taping the Lid
Lid Corners
To make the raw edges less vulnerable to wear and tear I trimmed all with the shiny silver Duck Tape torn in half lengthwise.
Reinforced Cuts for Handles
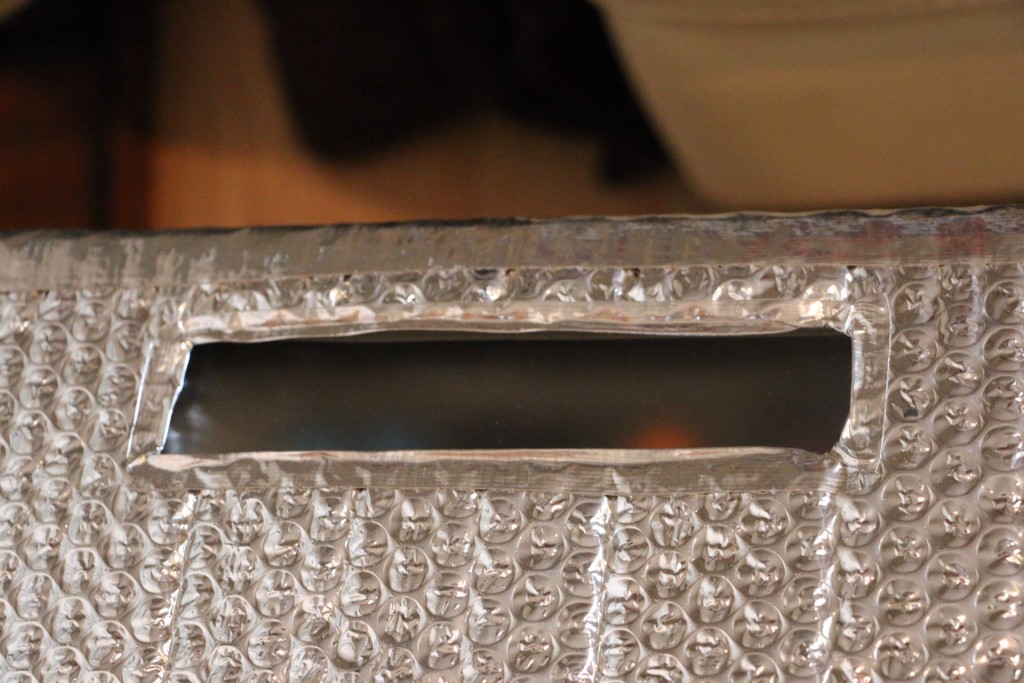
When the Dometic isn’t charging properly it flashes an error message on the door display. Hopefully with the improvements in wiring we won’t have that problem but just in case I cut a small window over the display and taped transparent plastic over the opening, again reinforcing the edges with the shiny Duck Tape.
Window for Display
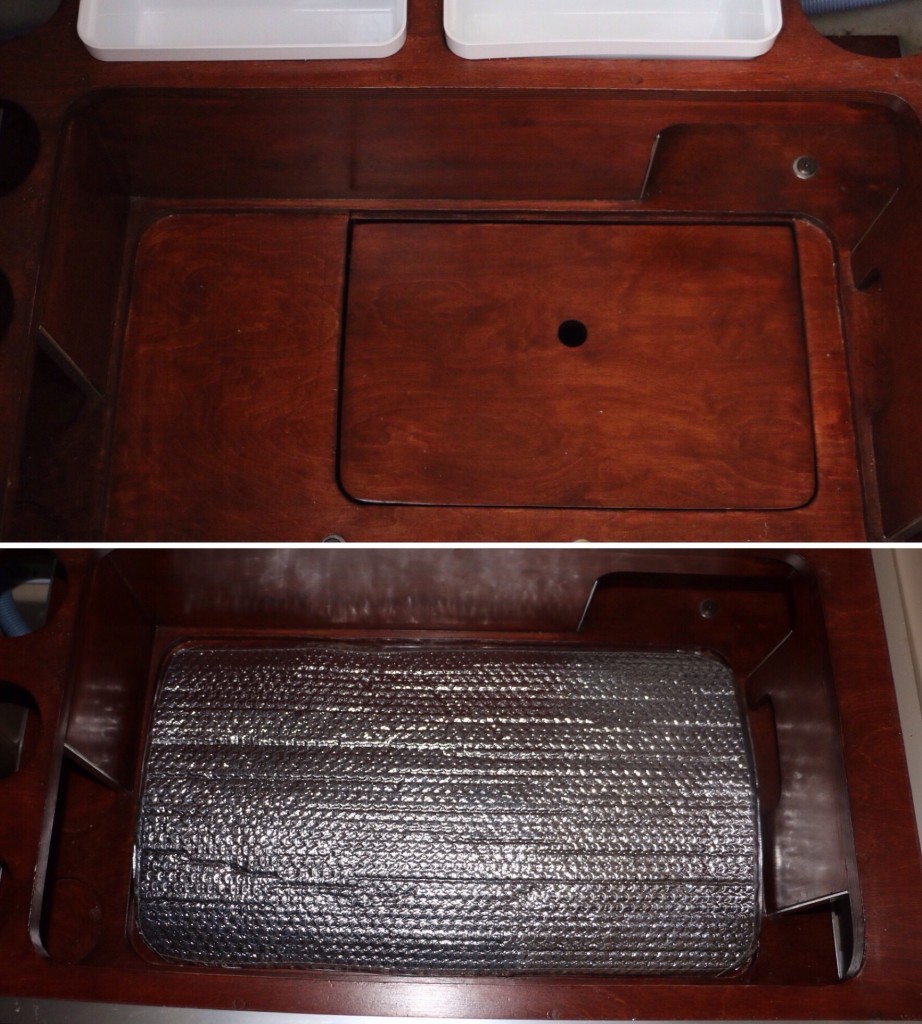
I also cut a piece of mylar to place at the base of the cooler.
Base of Cooler
It may not be my prettiest creation but we’re hoping it will make some difference in how often the compressor runs. At the very least with all that silver, it will keep Martians from stealing our beer.