HARVESTING the SUN – part 3 – Connecting the Panels
Solar panels mounted (here)
Panel assembly installed (here)
Now it’s time to connect the dots…..
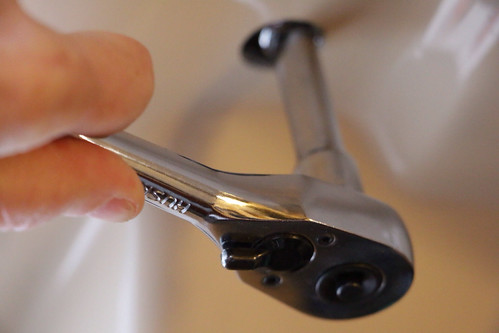
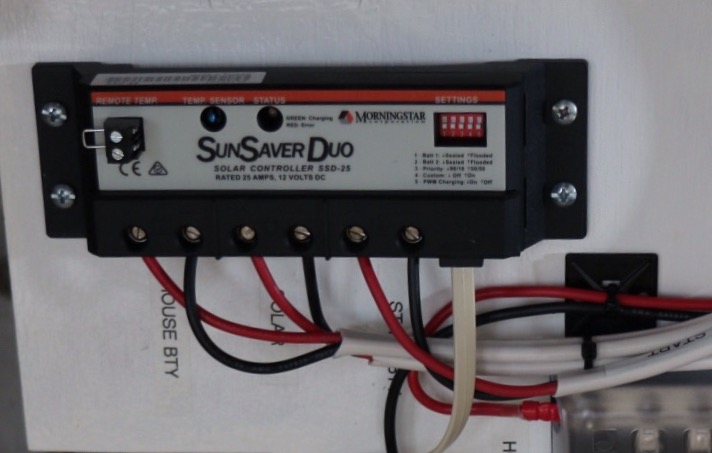
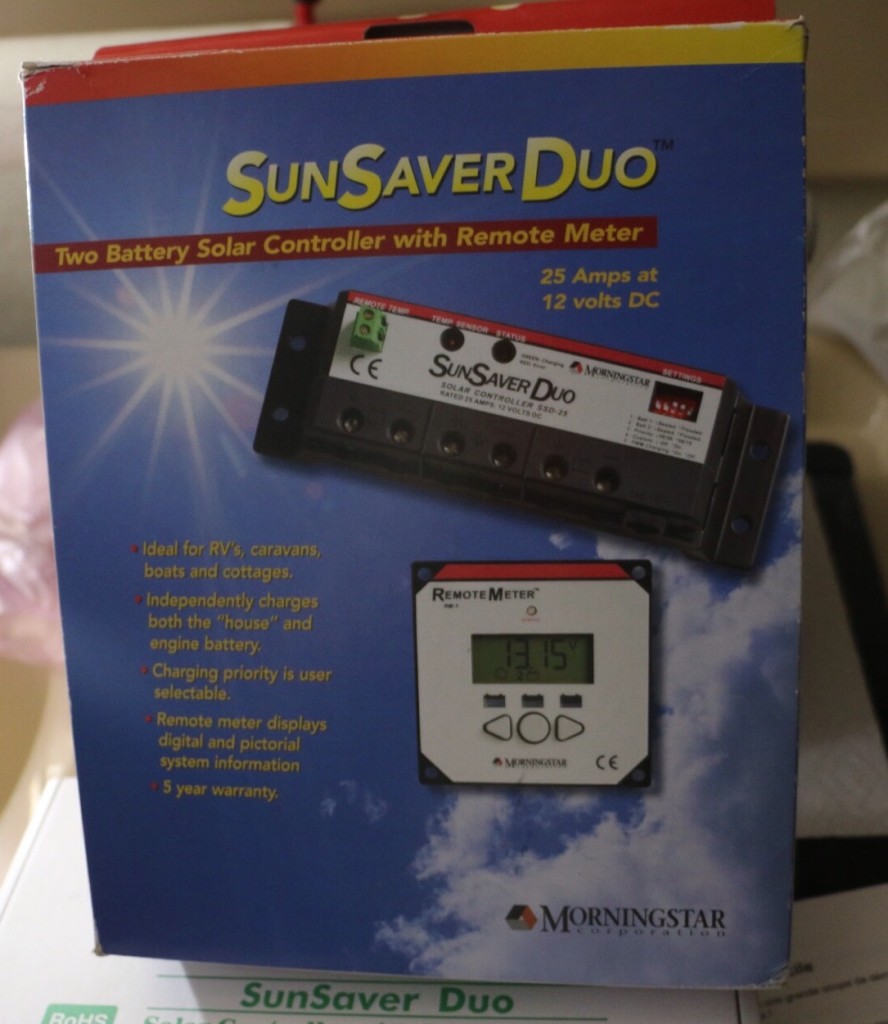
We pitched the controllers that came with the panels in favour of the Sun Saver Duo, which will allow us to designate how much charge goes to which battery. Right now we have it set to 90% House/10% Start to give the maximum solar supply to all our internal electrical needs. And when that battery is fully charged the controller will carry on to charge the second battery. The monitor will let us see what is going on with each…usage, wattage, amperage etc.
Sun Saver Duo
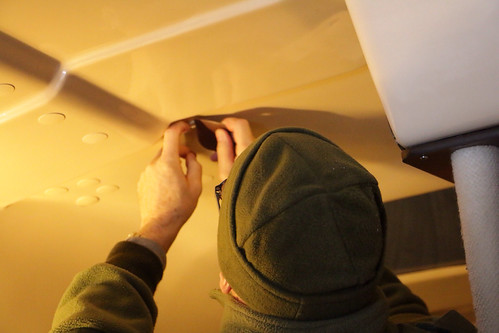
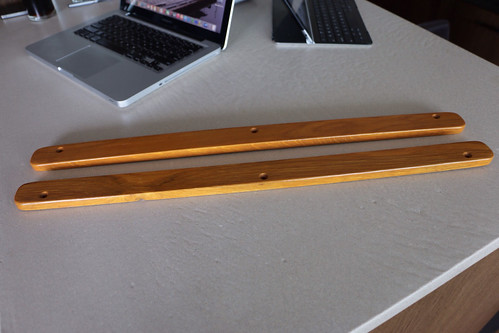
Once all the solar panel wires were inserted into the flex tubing secured along the panel assembly with UV resistant tie wraps, a hole was cut for the cable clam.
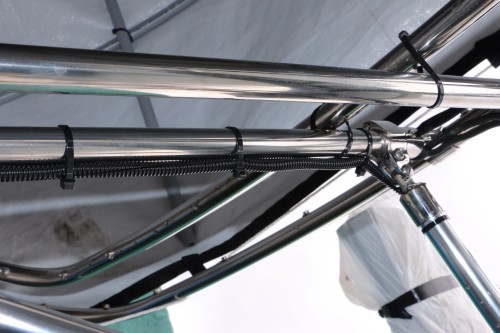
Panel Wires Attached
The difficulty was fishing the wires down through the foam core insulation. We accessed an existing entry that had been used for installing the transom handle. Francois’ old fashioned ingenuity using a wire coat hanger to fish the wires made what seemed like an impossible task so much easier. The cable clam was then screwed into place bedded with clear silicone and butyl tape.
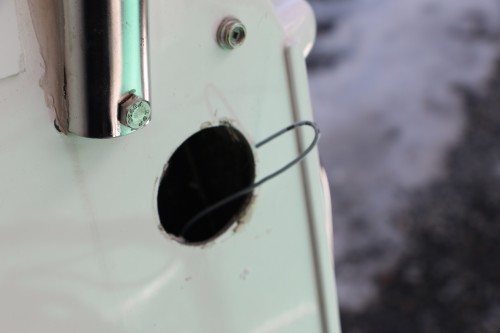
Coat Hanger Fishing Tool

View from Access Hole
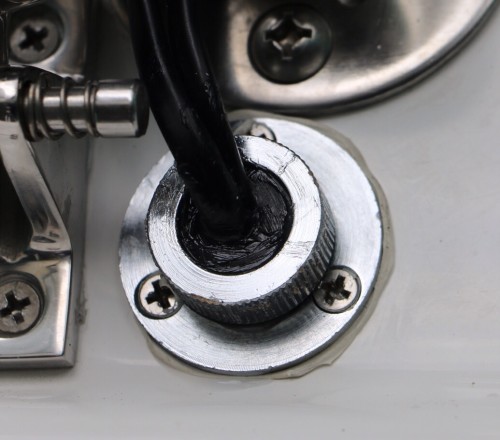
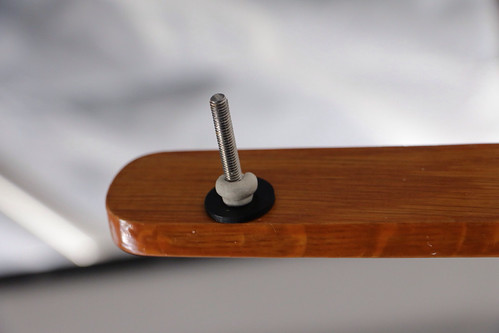
Cable Clam
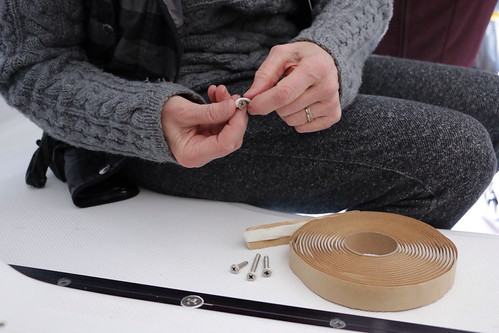
Once both port and starboard panel wires were inside, it was time to connect to the controller and batteries. Thankfully the master planner thought ahead to label which wire was which (port panel/starboard panel) before hand.
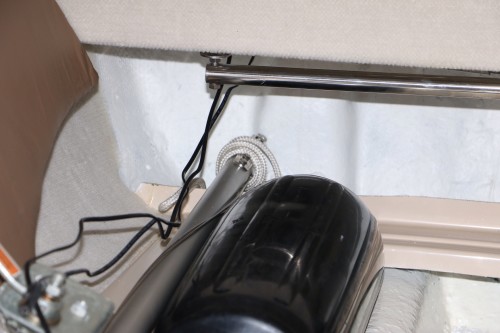
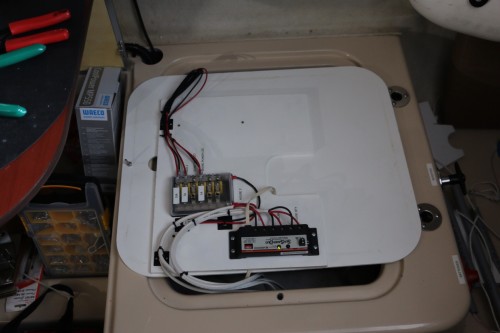
Inside Rear Berth
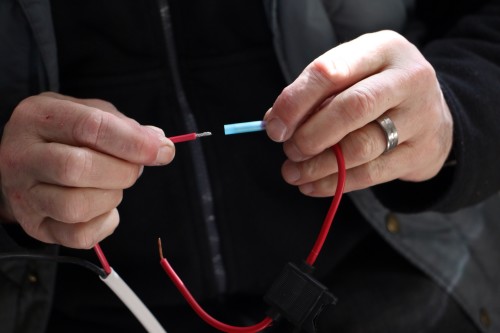
Butt Connectors Joining Fuse Holder to Controller Wire
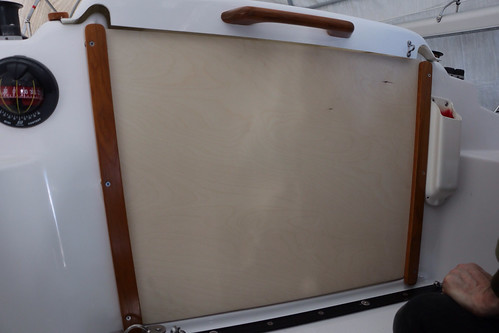
Francois built this wood panel which is installed under the rear starboard dining seat . It can easily be removed for working on the electricity. Balanced on the hatch cover it makes the ‘perfect’ workbench.
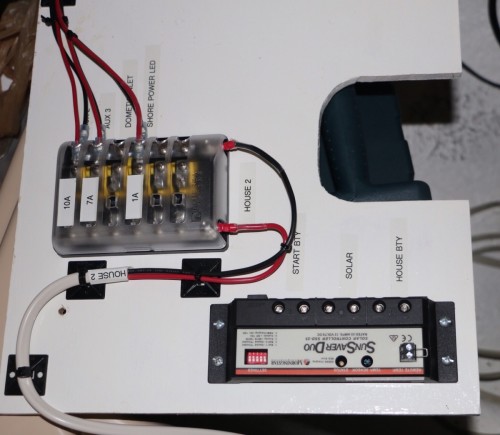
Sun Saver Controller
Workbench
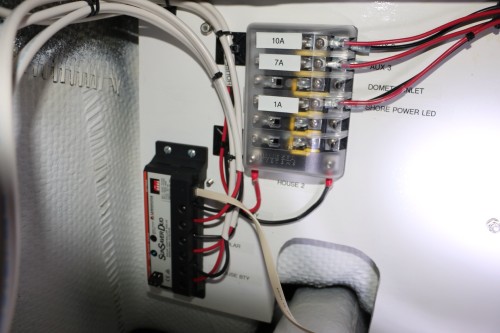
Sun Saver Wired & Mounted
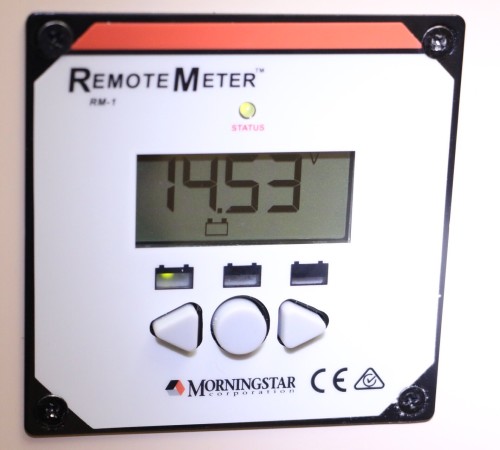
Remote Monitor
Last year when we tested the panels (here) we found that when there was partial coverage of one or both of the panels and even on light overcast days, there was some indication of charging. Aside from the obvious expense – panels, controller, wires and other supplies, not to mention all the work involved, it’s exicitng to know that our energy, at least in part, will be supplied free, thanks to Monsieur Soleil.
Free on any boat is a very good thing!
- Controller (Sun Solar Duo)
- cable clam
- 14 gauge AWG wire (20′)
- 4 x 3/8″ terminals
- 4 butt connectors
- 2 fuse holders
- 2 x 25 amp fuses
- black UV resistant tie wraps
- black Flex tubing
- butyl tape
- clear silicone
- crimping/wire cutting tools
- liquid electrical tape
- label maker (because according to Beth the Boat Guru, there is no such thing as over-labelling)