This next project was more necessity driven
than just making little cosmetic changes or
modifications to make living on R.E.D. more convenient.
Opening and closing the companionway hatch was wearing the gelcoat,
in some places almost exposing the porous fibreglass.
Back to the internet forums for advice,
we discovered that some boat owners had remedied the problem
by applying teflon tape to protect the surface and to prevent further damage.
So when the winter weather started to improve,
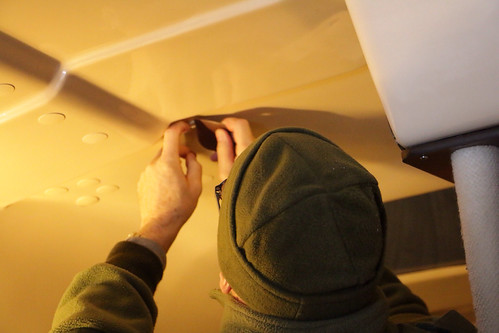
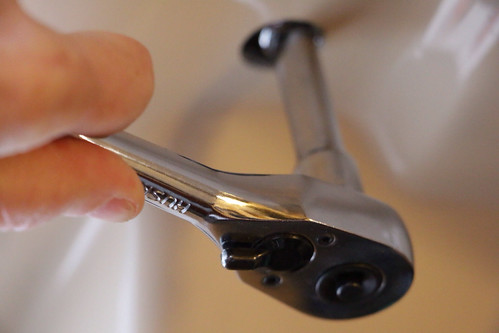
we headed back to R.E.D. to remove all the strapping
to be able to remove the companionway hatch…
We purchased the teflon tape and marine adhesive…
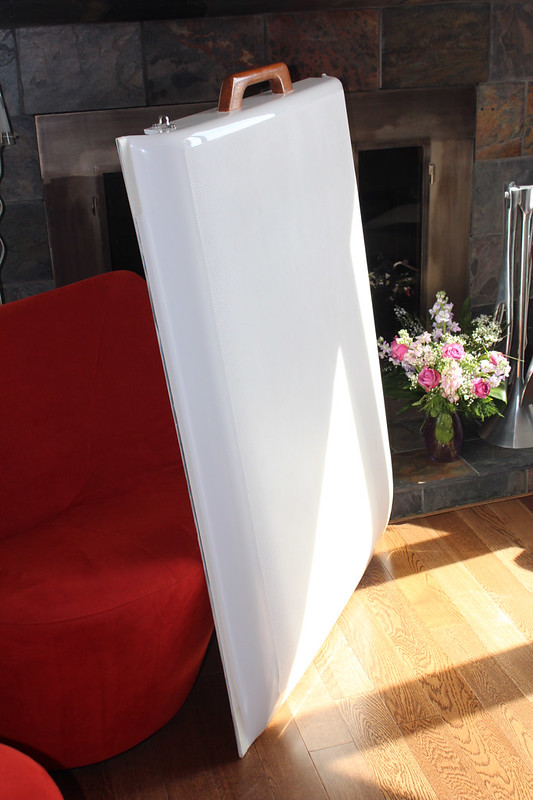
…and brought the companionway hatch back to the workroom,
AKA our livingroom…
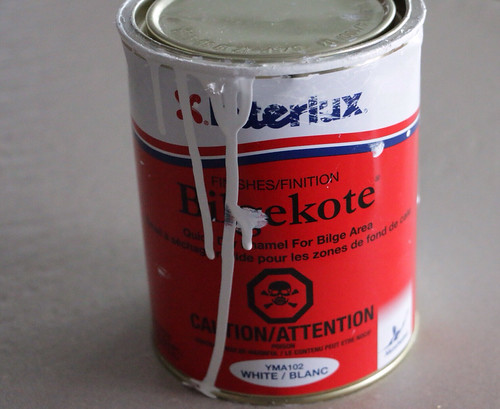
…it was also a good opportunity to paint the underside of the companionway hatch
with Captain’s new friend Bilgekote,
making it smooth as a baby’s bottom and easier to clean.
…teflon tape applied to the hatch edges…
…then back to apply the strips to the boat.
We needed temperatures above 4 ° C for proper curing time.
~ ~
The second part of this modification was more cosmetic driven…
During one of our first outings on our brand new boat two years ago,
my daughter commented that yes, it was a pretty boat
but ….
(just what every proud boat owner wants to hear is a ‘but’)
…’but boats with real wood are so much nicer’.
We had to agree that real wood trim is really beautiful,
so when it came time to tackle the companionway ‘rubbing’ problem
we decided to replace the white strapping.
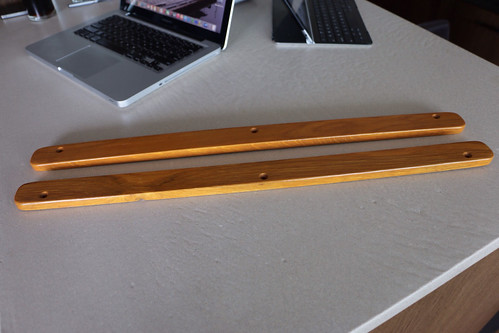
Captain’s choice: white oak…
…out with the (no so) old and in with the new…
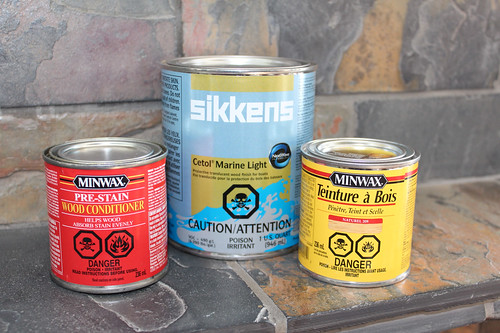
…wood primer, natural oak stain and Cetol (4 coats).
…givng results the colour of a fine single malt.
We then grabbed a small weather window,
a beautiful 15 ° C clear sunny day,
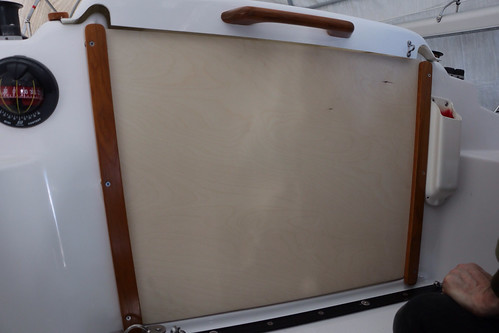
to put it all back together…
…This is my new favourite boat friend.
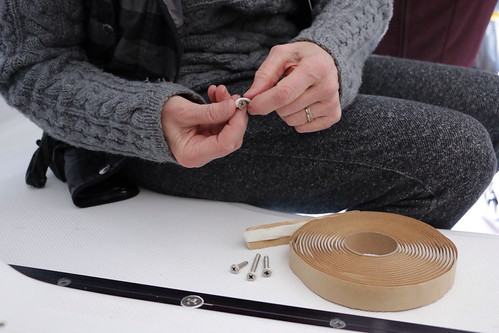
I had heard of Butyl tape
but not until attending a workshop recently in Rhode Island
did I realize how useful it really was.
It provides the adhesive power of tape with the sealing power of caulking.
Captain remarked that this alone was worth the trip.
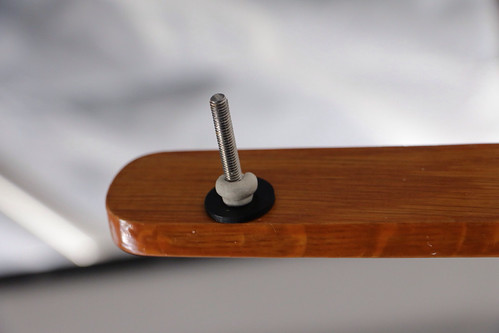
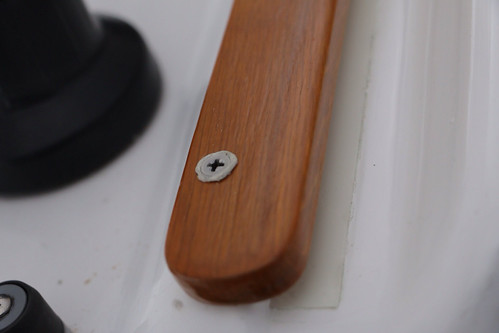
…a small amount around the screw head…
…and under the strapping to give added protection,
…and a good seal
between the wood and fibreglass.
All the hardware is back in place…
Now onto the next project…
…designing the companionway door.









You can teach the next class!
Would love another reason to visit. Just wait until you see the companionway door. Almost finished 🙂