

We finally have everything running for the radar. It wasn’t complicated…expensive yes, but not complicated and necessary for this year’s trip (route here) Travelling along the Saint-Lawrence River, especially this time of year when the waters haven’t yet warmed produces some challenging weather conditions
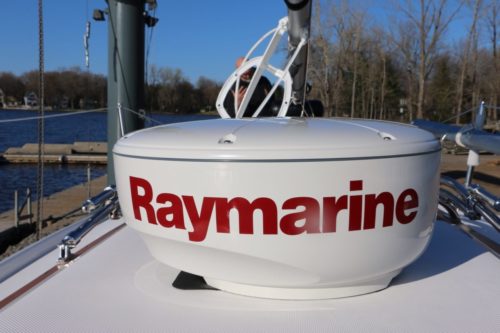
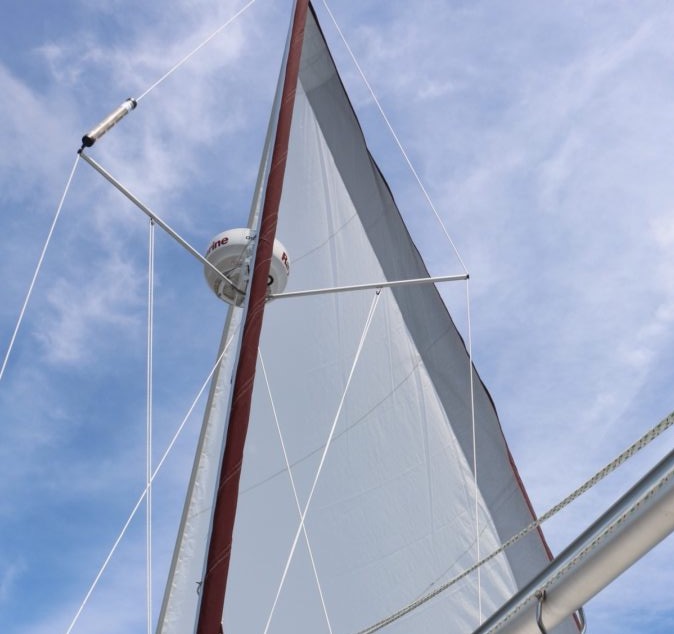
The Dome
We got a great deal on the radar dome (story here)
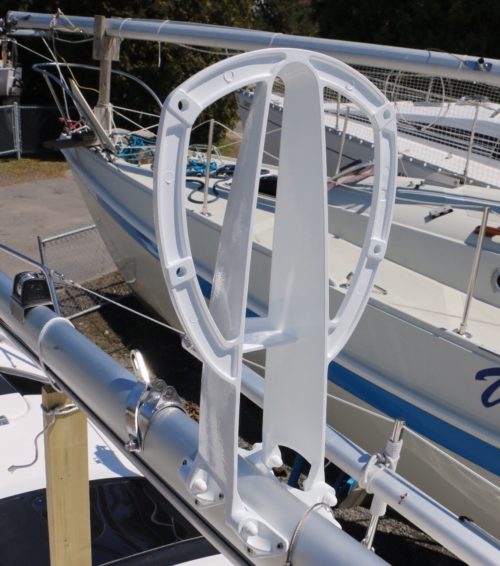
The Mount
We had hoped to include the radar on the stern with the solar panels but there was just too much going on back there that we decided mast-mounted was the way to go for us. Mast mount purchased. Again, another deal found locally at a very reasonable price. Next, was the cable purchased. Thanks to friends from the US we purchased the cables from a Connecticut-based company during their big yearly sale…5 metres and 10 metres. Price our local supplier just couldn’t match.
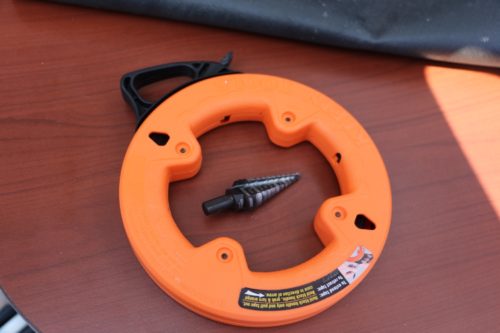
The Tools
Aside from numerous bits and pieces needed to finish the project, two of the most useful was a plumber’s snake and a step bit.
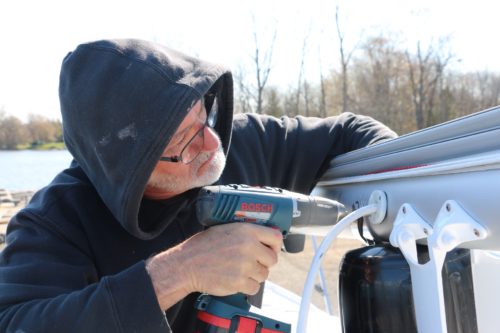
Upper Cable Clam
The biggest challenge was threading the cable from the mast mount connection down through the interior of mast to the base connection.
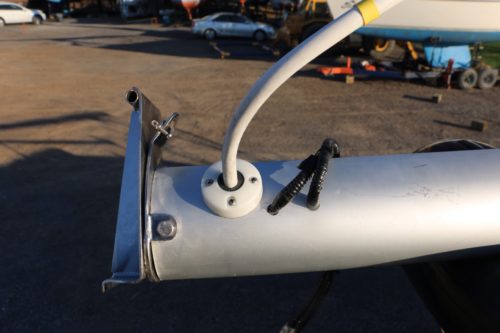
Base Cable Clam
The plummer’s snake, a whole lot of patience and the 5 metres of cable found its way through the mast foam core.
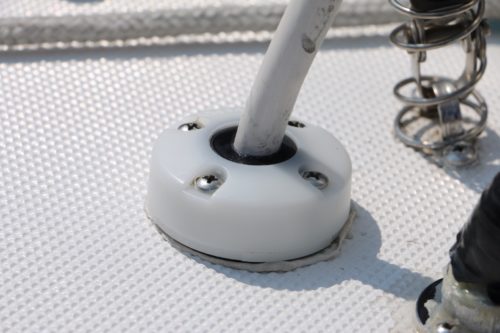
Deck Cable Clam
The rest of the above deck installation went smoothly, butyl tape to seal the through-deck cable clam.
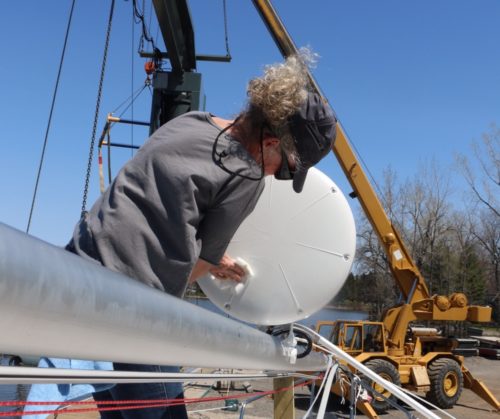
Coat of Wax
A final coat of wax for extra UV protection…
Outside Complete
And we were ready to head inside. First, a little note about stepping and unstepping the mast. The dome weighs a good 20 pounds so special care had to be paid while lifting and lowering but it proved not such a big deal.
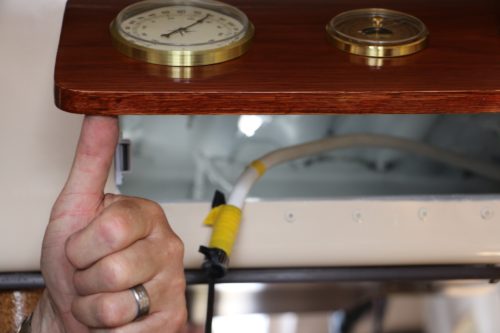
Inside Access
The weather station (story here), our place for storing charts and navigation tools gave the perfect access to start threading the 10 metre length of cable through the cabin.

Hiding the Cable
Lengths of pipe insulation foam made pushing the cable back inside cabin liner easier.
Wires Hidden
One of my pet peeves is visible wires, Thankfully, all tucked away out of sight.

Wiring
All wires were connected to the house battery and the ground bus bar…
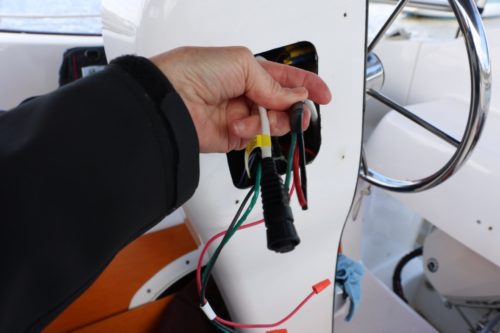
Helm Wiring
…then Francois passed the remaining length of connections back through the rear berth and with the help of the plumber’s snake and lengths of line we pulled the final wires up through the helm.
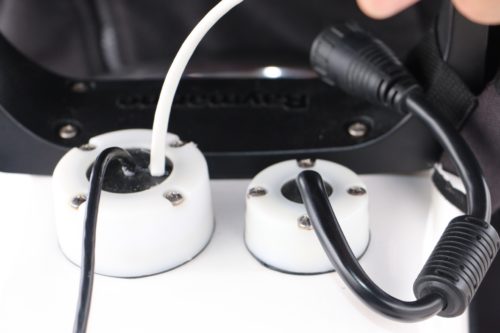
Helm Cable Clam
The dealer-installed cable clam for the transponder on the helm was far too big for it’s purpose so Francois performed a little surgery on the entry, passed the radar connection, injecting a good deal of silicone to seal it.
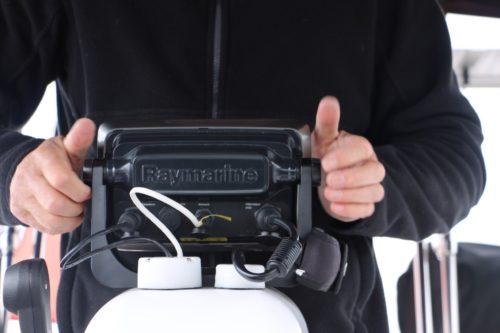
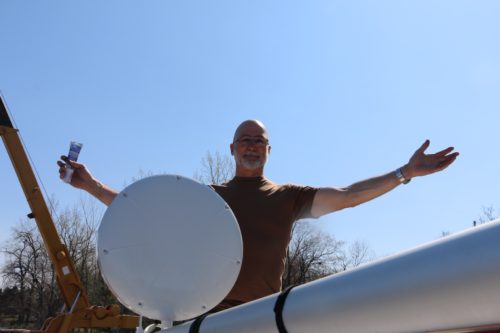
GPS Mounted
All that remained was the test. Would it work? All connections made. GPS mounted in place. System switched on.
Activation
Nothing more satisfying after all the work to see that screen display.
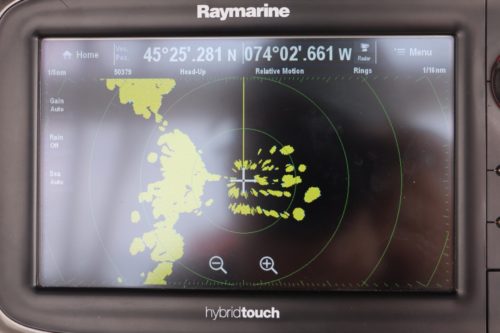
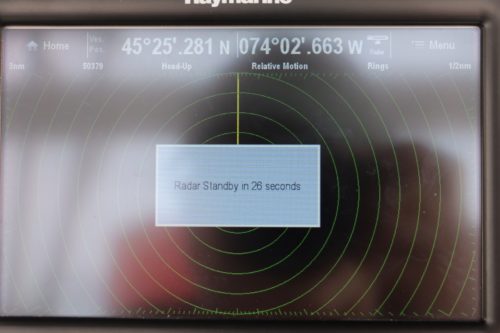
Radar Image
Look at all those sailboats. Look at that image of the shore line. Something so simple giving this much pleasure!
Trial Run
Now to test it out on the water under sail. We condemned the rotating mast. No evident difference in the performance. Bringing the sail through a tack wasn’t a problem even with light winds. Letting the wind bring the Genoa over the dome was key.
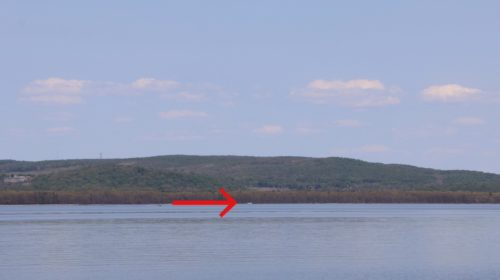
What We See
…and what can we see? A power boat way off across the lake.
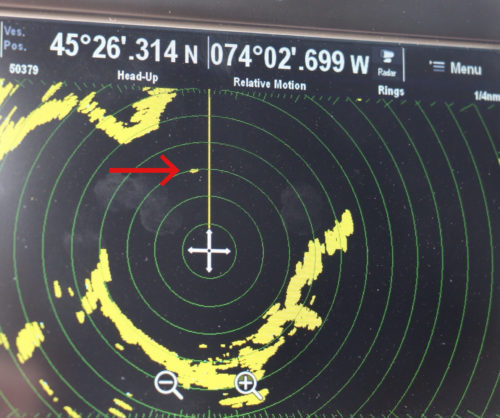
Radar Image
…registering clearly 1.5 nautical miles away.
We still have to try it out in more challenging situations, still have to learn more about screen display options but hey, it works and that makes us very happy.
- Raymarine RD418D
- Scanstrut Mast Mount
- Radar Cable (5 metres & 10 metres)
- 3 cable clams
- Butyl tape
- Silicone
- Plumber’s Snake
- Step Bit
- 14 gage marine electrical wire (3 wire including ground)
- Ground buss bar
- Pipe insulation foam