Phase two of our solar panel project is now underway. Soon winter will be but a distant memory, boat tarp will be removed and we can get this party started. Part one, panel assembly, can be found by clicking here. This next stage highlights what we used to mount the panels to the existing bimini structure.
I have also added a new feature which may help those who wish to reproduce this on their own boat. A recipe card template that we use on our Sea Salt Galley Kat blog has been adapted to give you a printable shopping list of materials and tools needed (see bottom of page)
Continuing with a more cost effective method we are again using aluminum tubing easily found at local hardware stores.
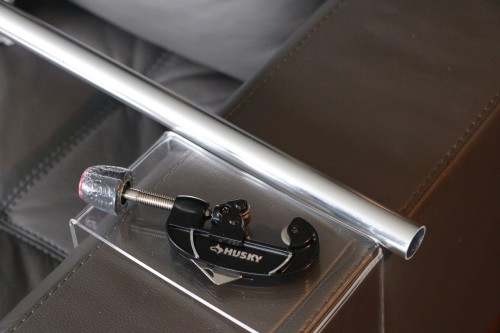
Pipe Cutter
A simple pipe cutter was added to our tool repertoire and until we have alternatives, living room, kitchen and guest room will continue to be our work rooms.
Even though we have tried to keep this project cost effective, there are occasions when nothing but the strength and durability of stainless steel will do.
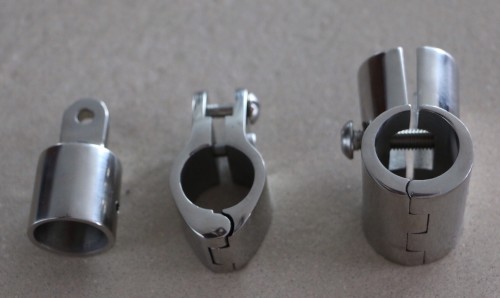
Stainless Steel Fittings
Aluminum tubing that we have used for the panel and mounting assembly has been a fraction of the cost of stainless but aluminum is a malleable metal. To counter this, hardwood doweling was glued into each length so that the continual stress of movement and any accidental shock will not bend or reduce the overall strength.
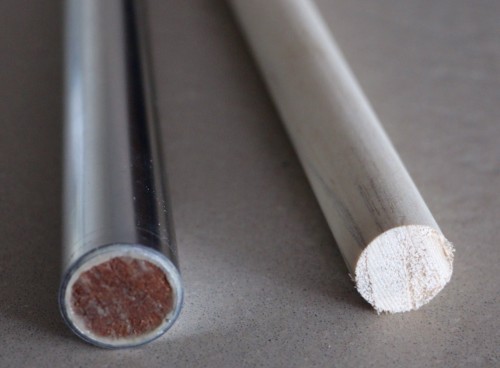
Aluminum Strengthened with Doweling
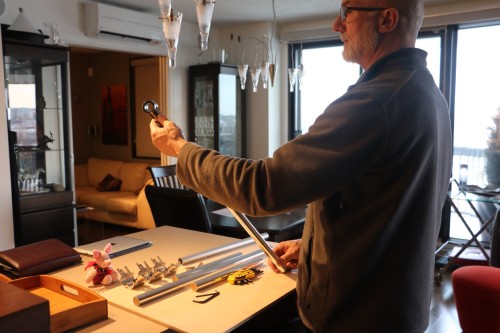
Some Assembly Required
Loctite Metal Epoxy will help to secure each fitting to the tubing.
Now back to the boat to put it all together
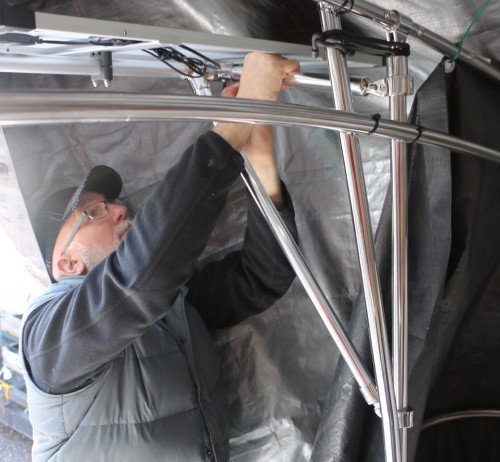
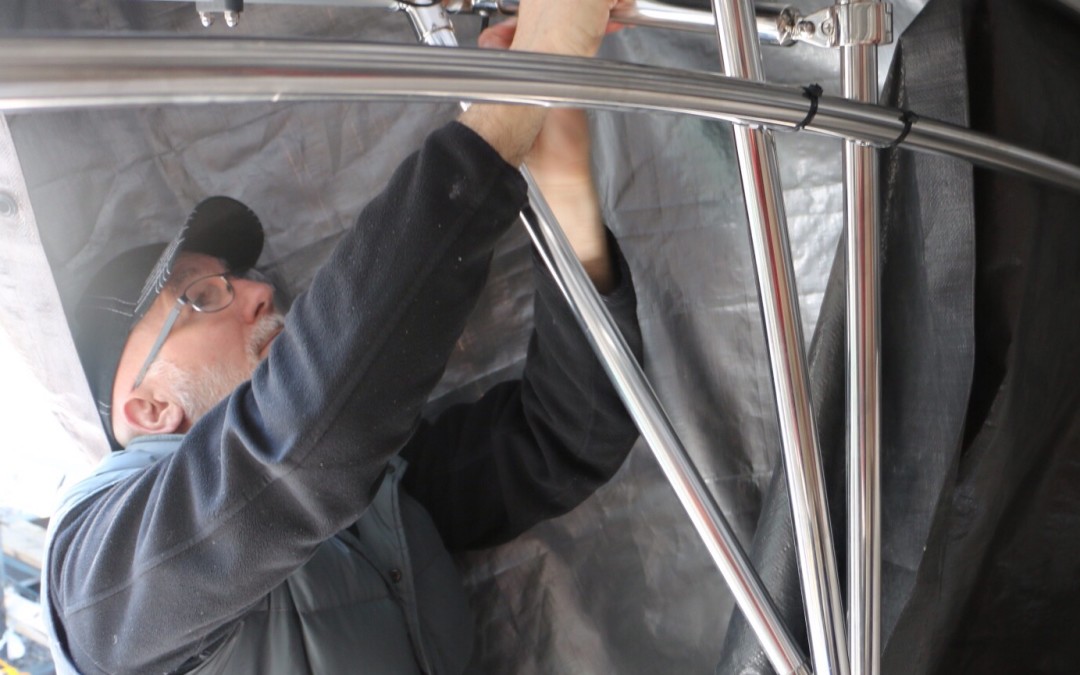
Assembling the Rig
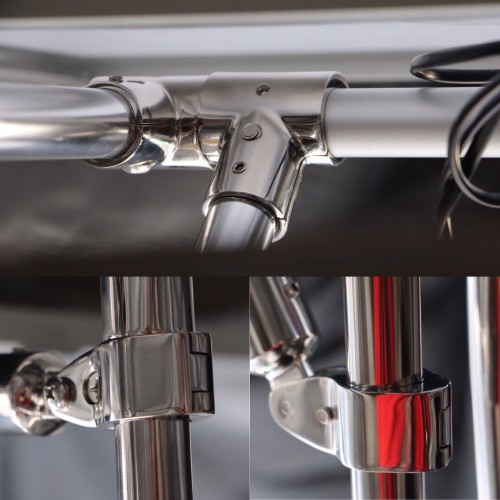
SS Fittings in Place
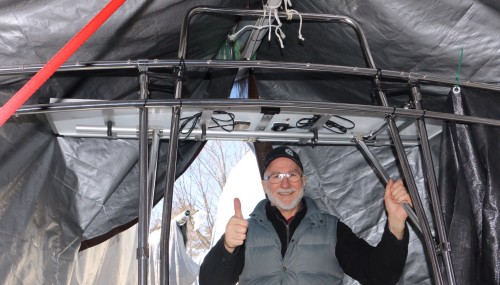
Perfect Fit
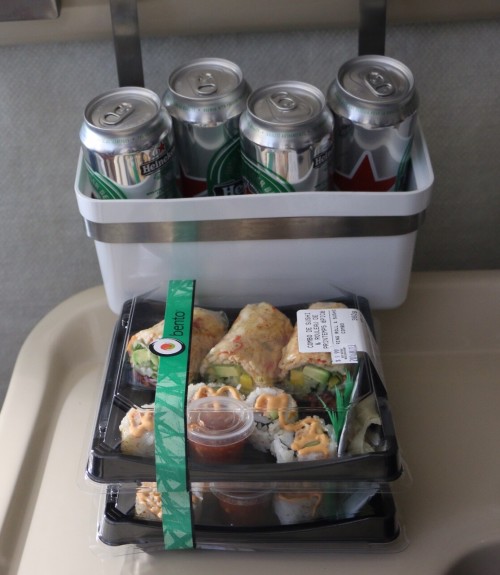
Sushi Reward and Captain’s 007 Beer
Next step, wiring and connections…
- Pipe cutter
- Hardwood doweling
- PL glue
- 2′ x 1″ lengths aluminum pipe x 2
- 1′ x 1″ lengths aluminum pipe x 2
- SS Outside Eyes x 4
- SS Hinged Jaw Slides x 4
- SS T-Fittings x 4
- Loctite Metal Epoxy

Well done! Thanks for sharing. It will be a big help.
Thanks for the comment Walter. Can’t wait to have the wiring/controler connected and be back on the water
Super job professionnelle!
Notre visite de la fin de semaine dernière nous a inspiré.
Merci
Merci! Vous pouvez venir, à tout moment, si vous avez d’autres questions.