
GENERATING INDEPENDENCE – Part Two
Time to get this party started!
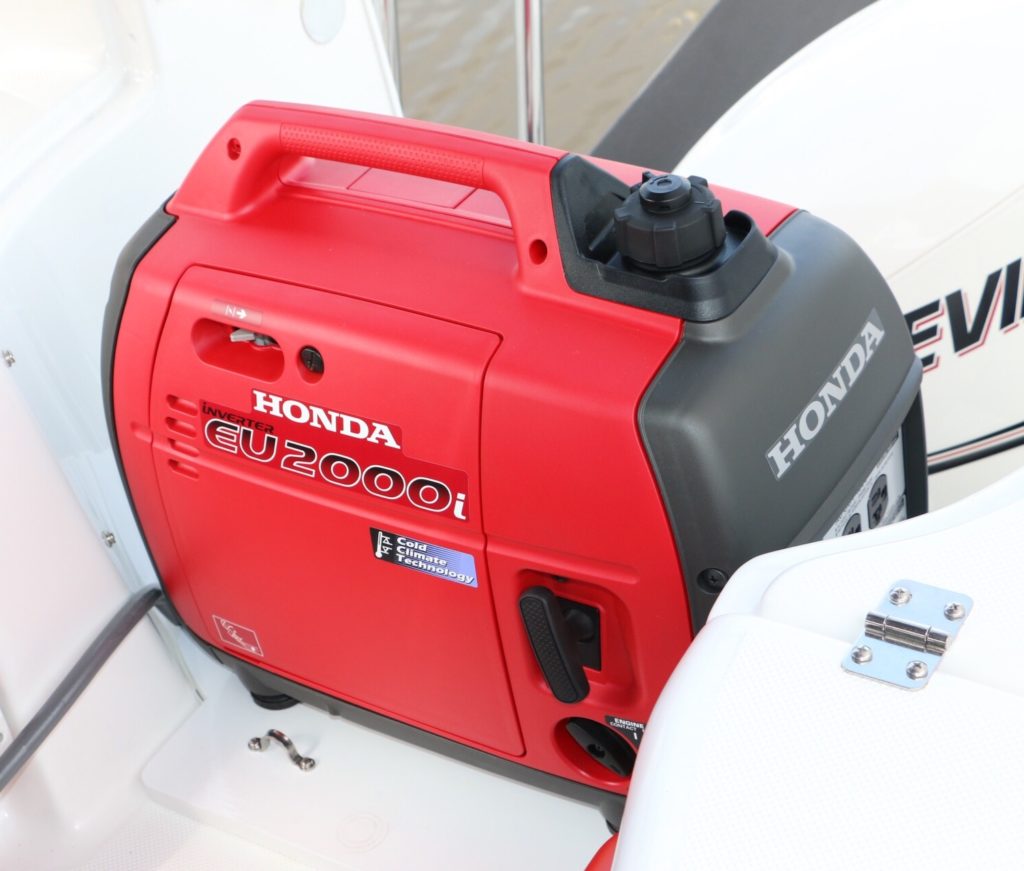
We are very close to departing for our summer adventure and installing the generator is THE last project yet to be completed…for now. We’ll be using it only when needed while at anchor but the main reason for the gas beast was a ‘just in case’ there was a repeat of last summer when cranking battery died and we had to enter an unfamiliar marina under sail (story here)
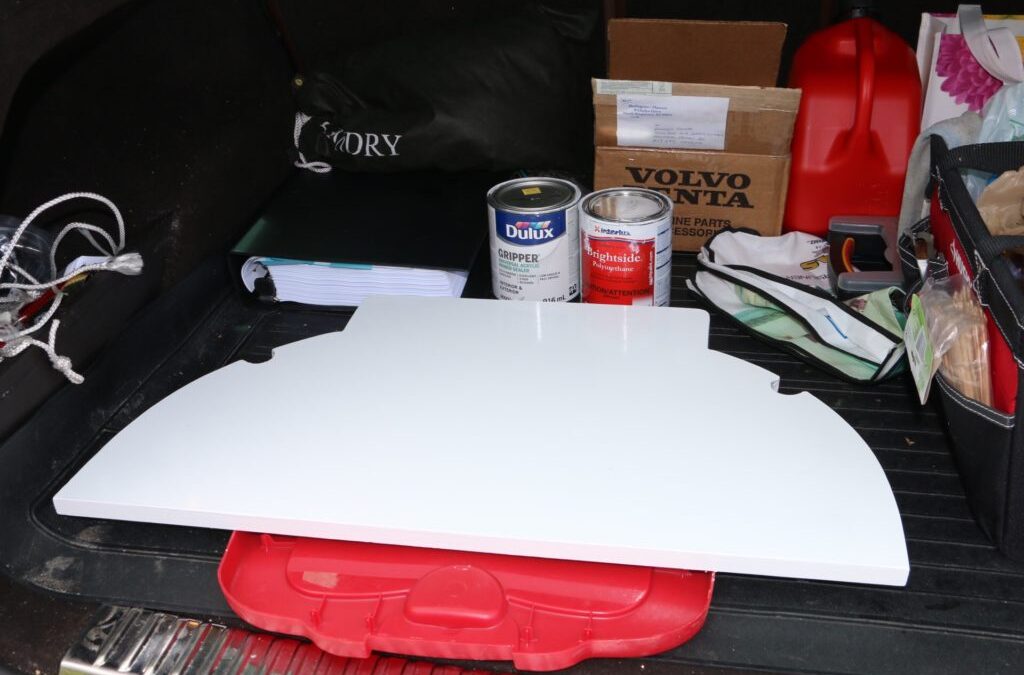
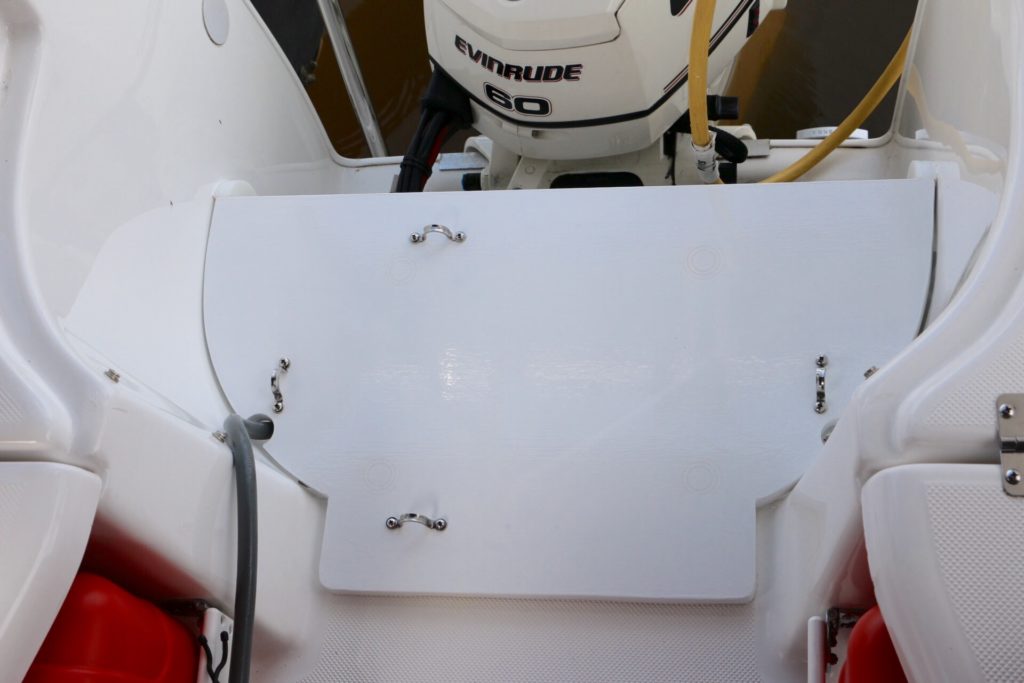
We had hoped to secure a piece of marine starboard for the transome support but there wasn’t enough time to order, receive and cut to fit, so marine plywood was used as a stop gap measure. Two layers of primer and two layers of epoxy paint to protect.
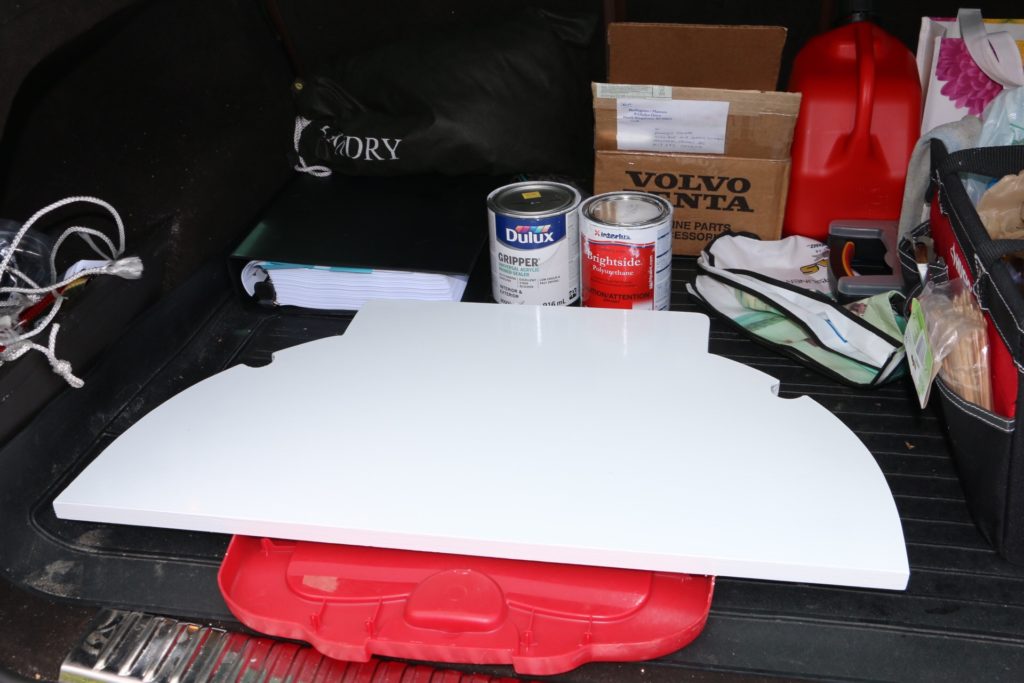
Prepping the Base
Because we are now living on the water, a couple of saw horses borrowed at the club to paint and our tow beast trunk to stow the piece while it dried to keep free of dust became the workshop of choice.
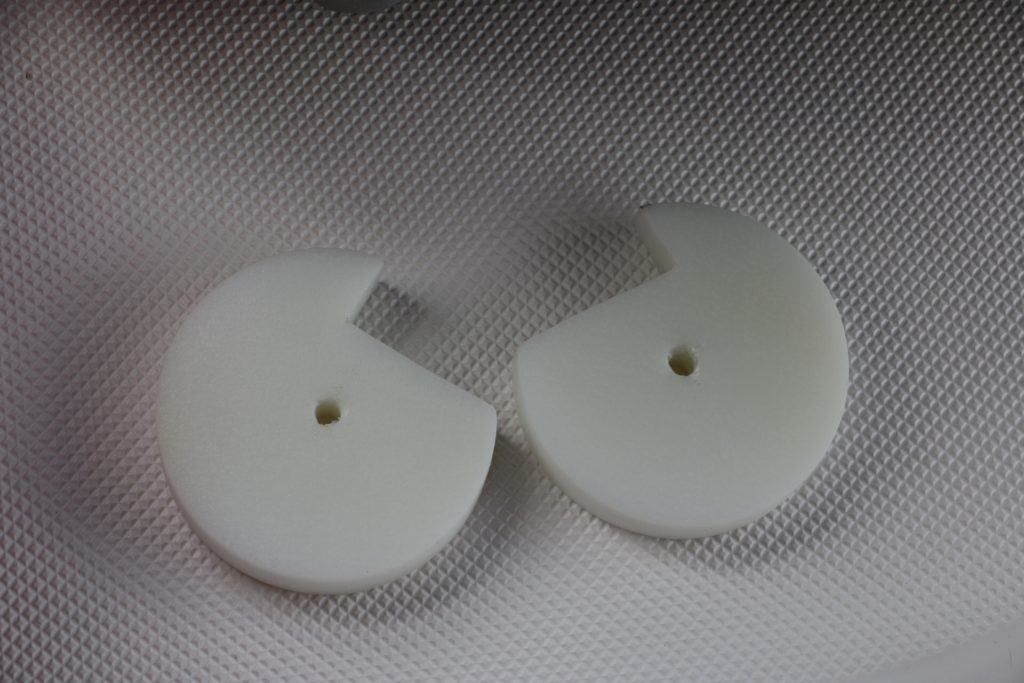
Transome Brackets
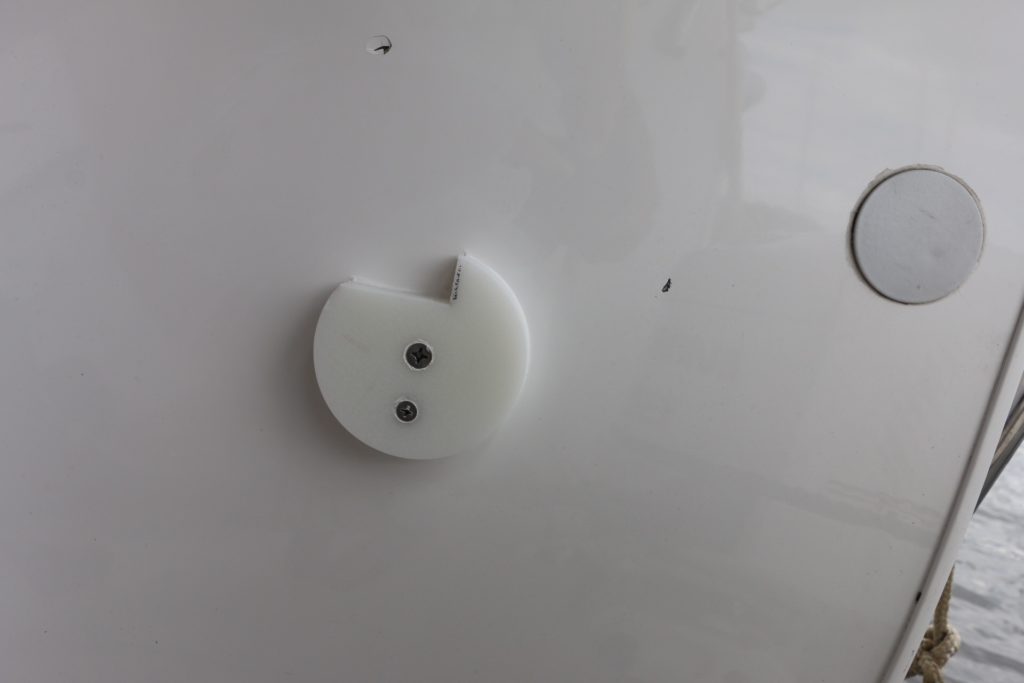
These two ‘starboard’ pieces are actually salvaged from my daughter’s cutting board but they will make the perfect bracket for the transome support.
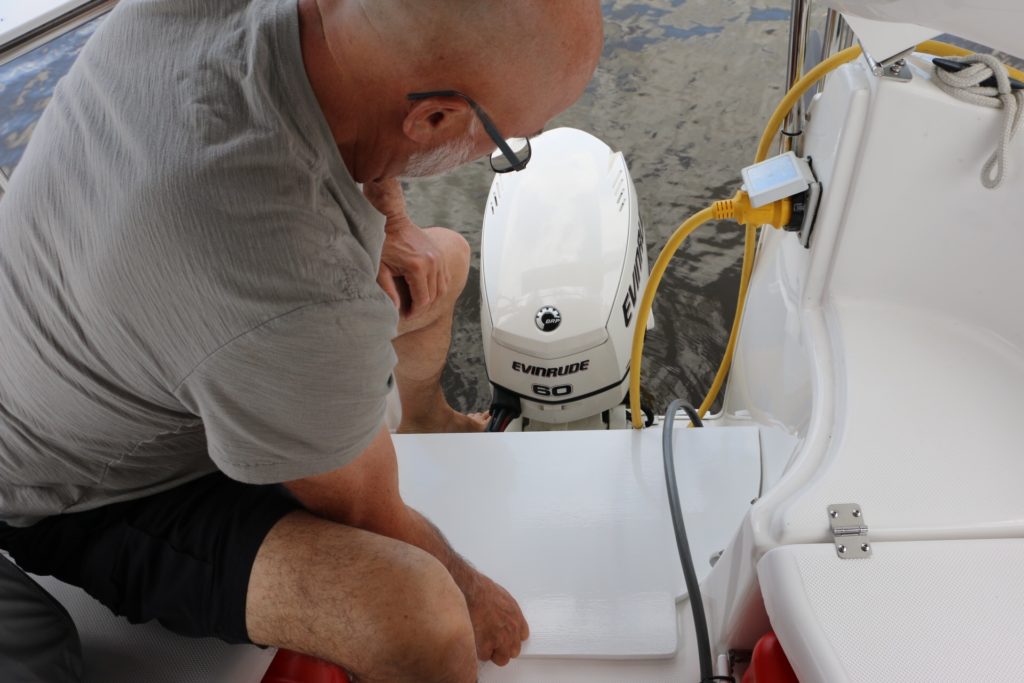
Perfect Fit
One last check to make sure fit was perfect and mark the height to apply the brackets.
Brackets in Place
The brackets were smeared with 3M 4000 them screwed in place each side of the transome.
Eyelets for Securing Straps Sealed with Butyle Tape
Travel Position
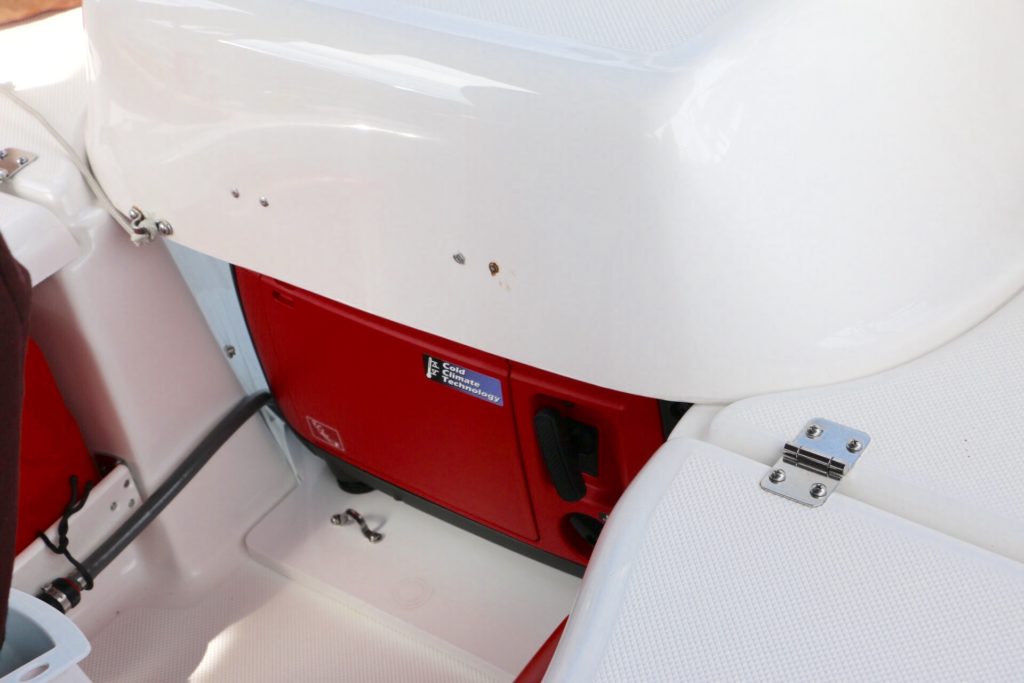
Captain Seat Closed
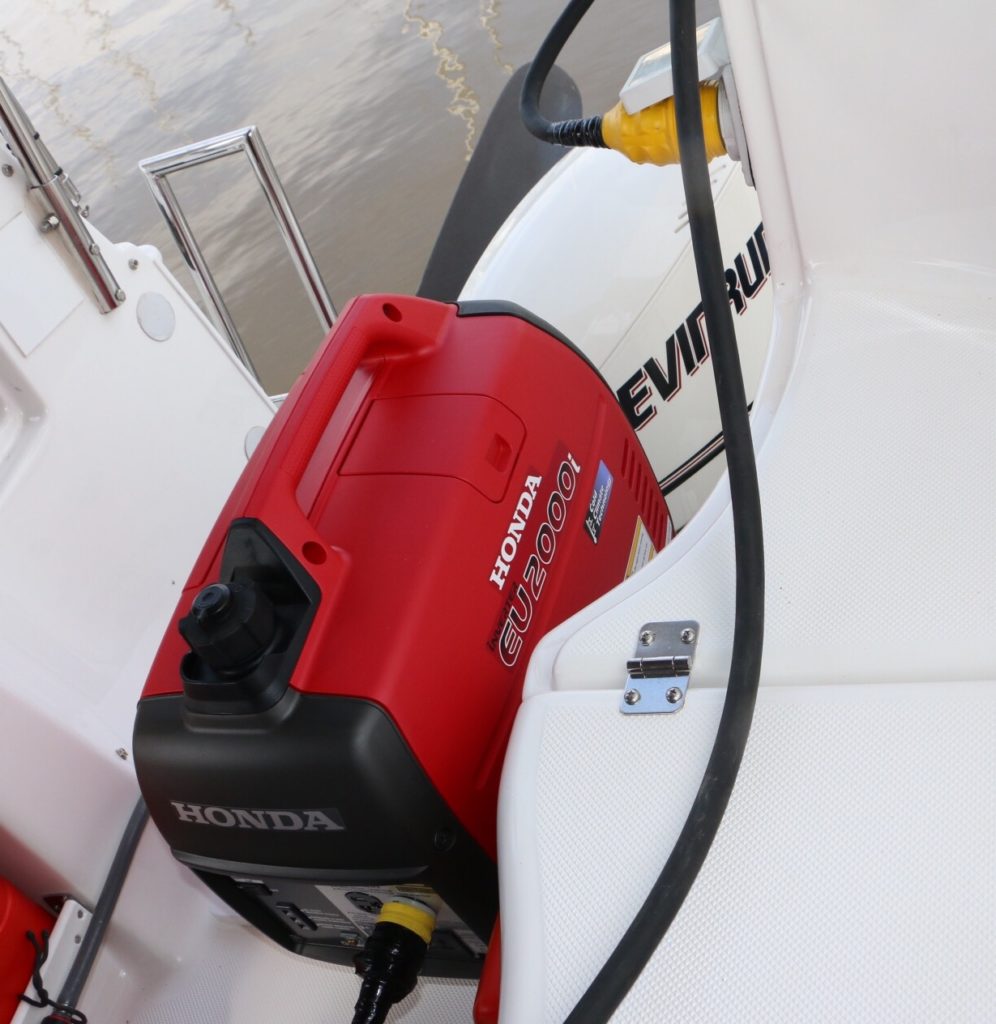
Running Position
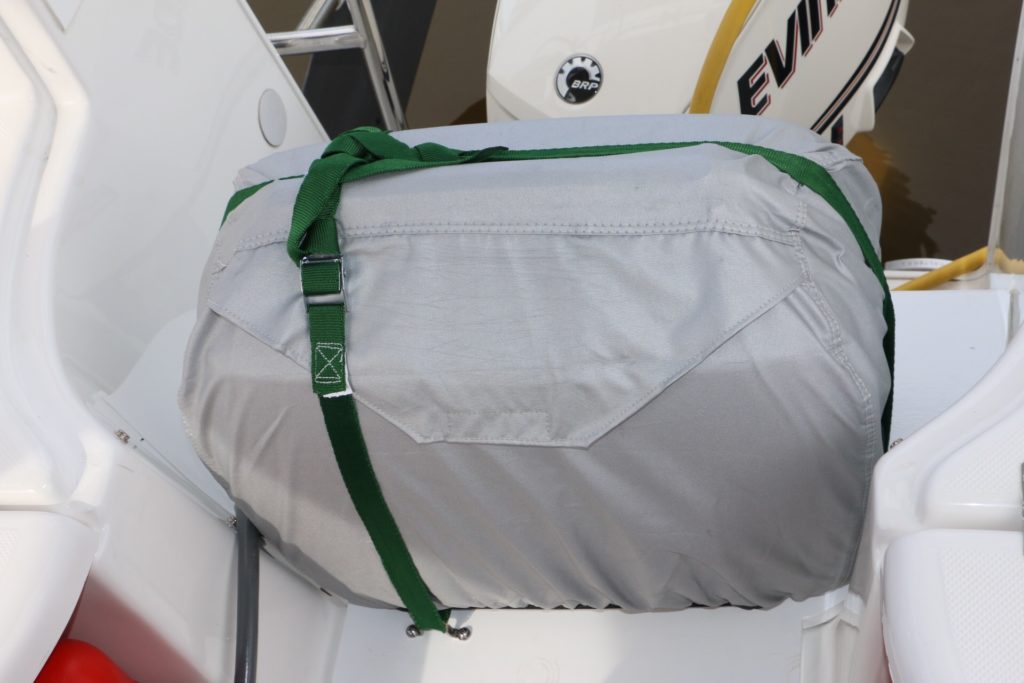
Wrapped and Strapped
…and ready to GO!

Hard to imagine that all this gear was necessary to apply 4 screws but it actually was. It’s going to take an organizational wizard to make this work. (wink! wink!)
- 3/4″ Marine Plywood
- Primer
- Epoxy Paint
- 3/4″ Starboard for supports
- 3M 4000
- 4 x SS screws
- 4 x SS eyelets
- 8 x SS 3/4″ screws
- 8 x SS springs washers
- Butyl tape
- Lashing Straps