
BOAT MODIFICATIONS: Electrical Improvements 120 Volt AC
Captain says there is the Pirate Code,
then there is the Electrical Code…
Time to make R.E.D. comply with the Electrical Code…

Three years ago when R.E.D. was first launched and taking on water…
…remember that?
…I remember the tears…
Anyway, we engaged the service of a Marine Engineer to inspect from top to bottom.
He couldn’t find the cause of the leak (although we discovered it later on)
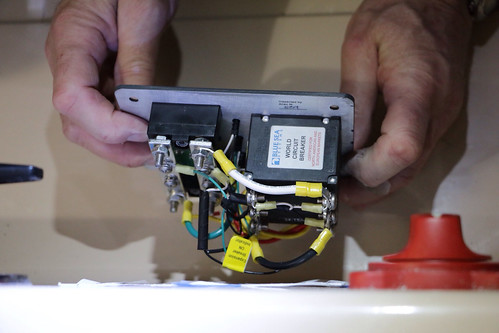
but what he did find was that our shore power connection did not meet code standards.

No circuit breaker or reverse polarity indicator.
…just a simple 15 amp breaker.
Sadly, there wasn’t one thing installed by the dealer
that was done correctly,
including the through hull with no caulking
that caused us to take on water our first night aboard,
and the furler installed up-side down.
The list is very long and the memories are still fresh
but we have moved on…
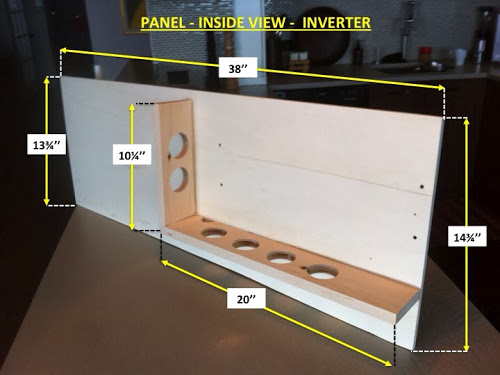
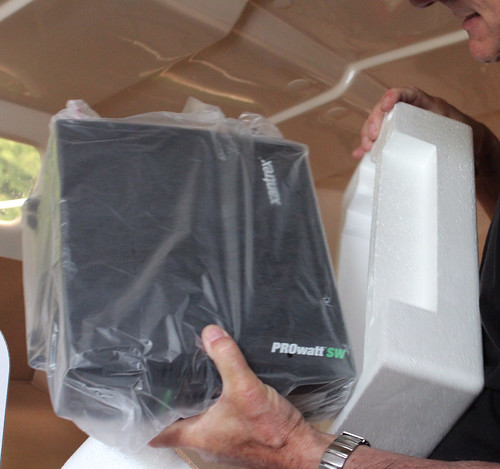
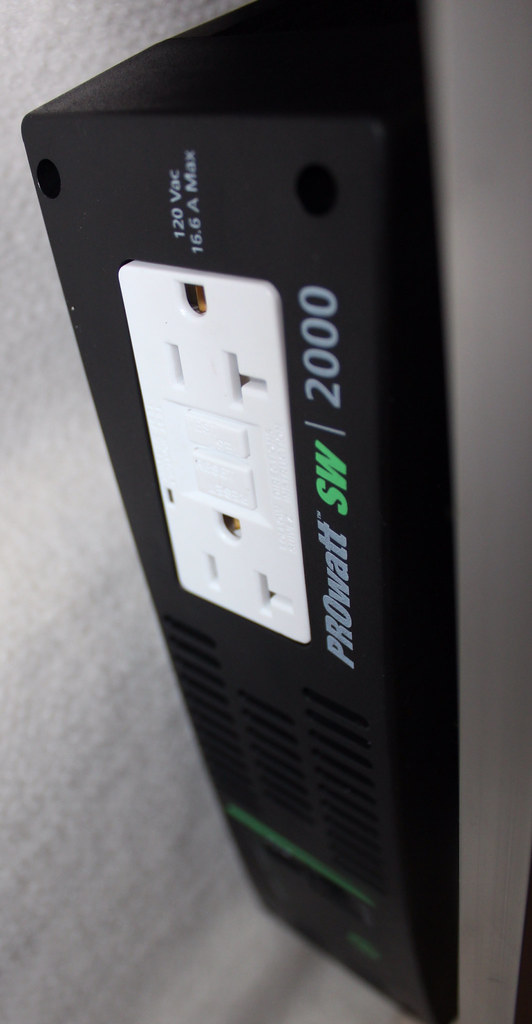
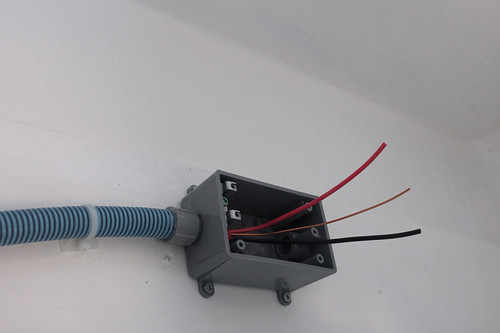
So to bring the shore power connection to code
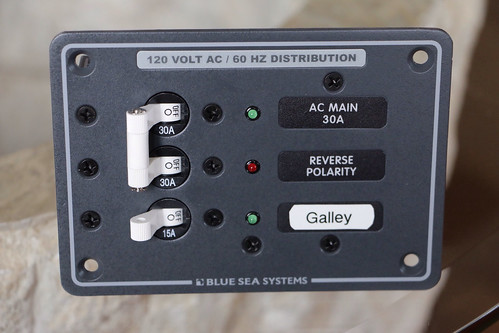
we are installing a 120 volt distribution panel
with an extra connection for the Galley.
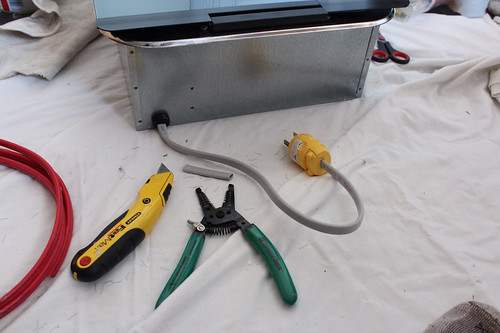
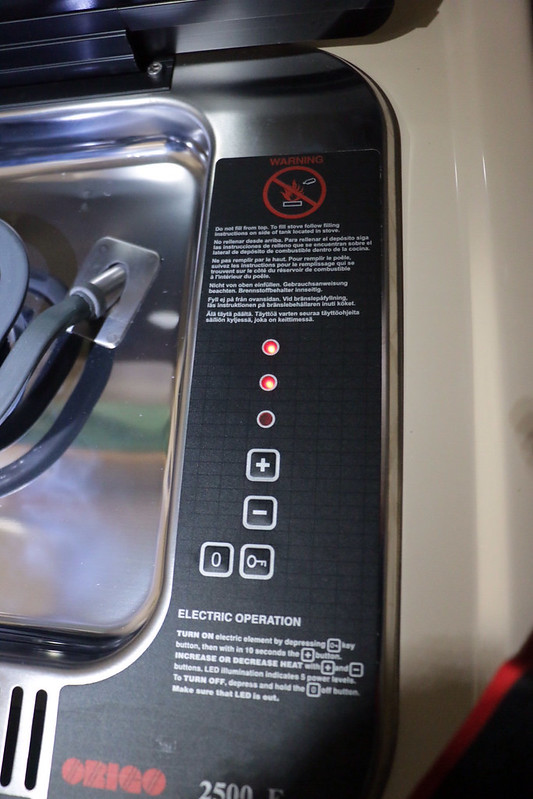
I was hands-on wiring my new combination alcohol/electric stove,
keen to try out skills learned at a recent workshop
in Rhode Island.
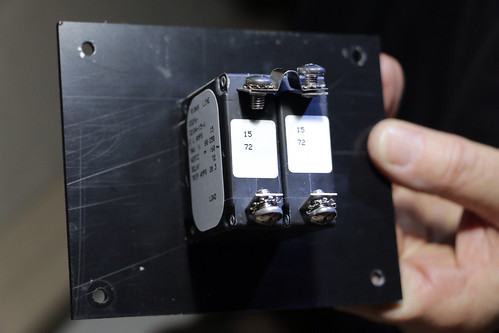
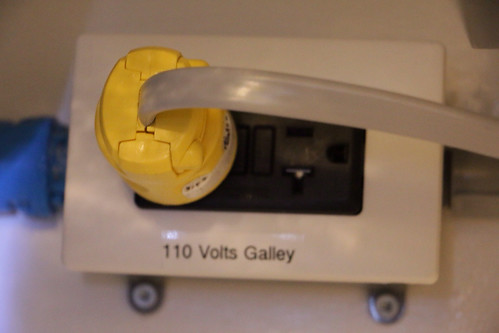
We decided to install a 20 amp connector
instead of hard-wiring the new stove
We also installed an extra outlet on the outside of the galley
for USB charging
and other stuff…
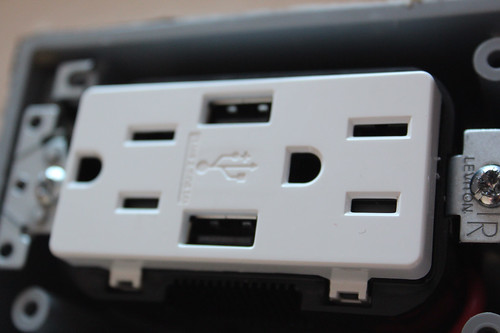
…because there’s always other stuff…

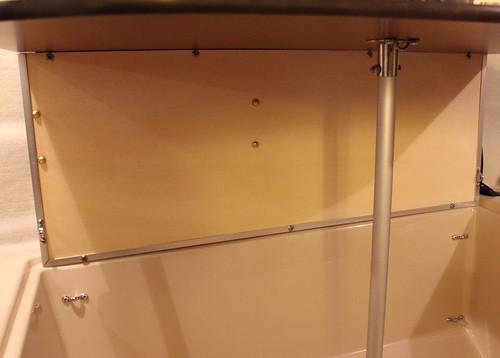
Back onboard to put it all together,
the Dremel cut through the fibreglass like going through butter.
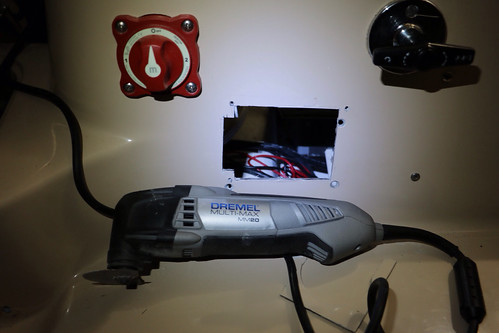
…for a perfect fit.
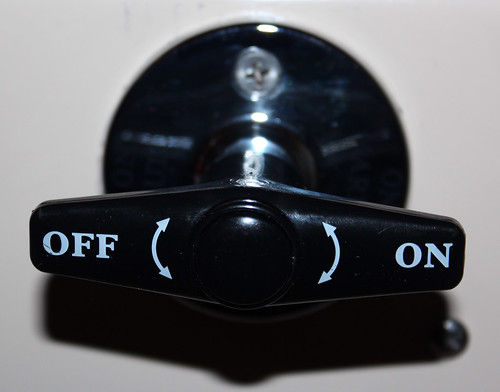
Referring back to my workshop again
is the importance of making sure everything is not only safely installed…
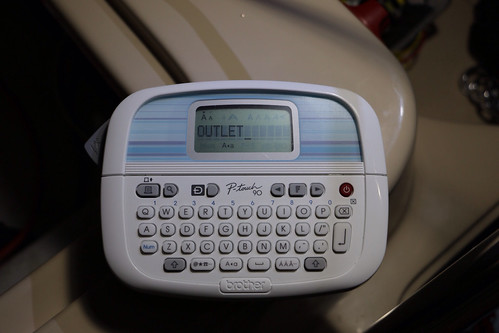
…but correctly and clearly labelled.

…all the connections,

…all the dials and gauges.
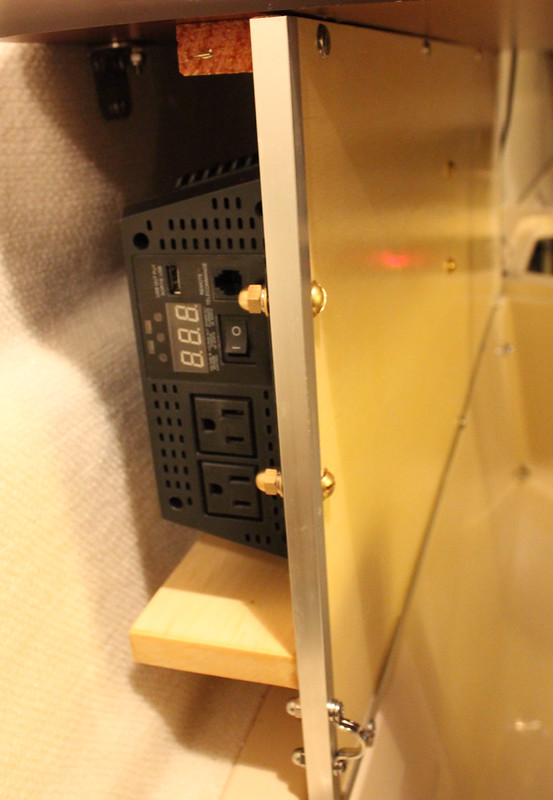
Now to test to make sure everything works.
It’s comforting to know that after all of this work,
when you flip the switch
all the lights that are supposed to come on,
do come on.
Next challenge will be to tackle the 12 volt ‘issues’.
Five connections on one battery terminal is not a good thing Mr. Dealer!