Apr 12, 2015 | Flotsam
Captain says there is the Pirate Code,
then there is the Electrical Code…
Time to make R.E.D. comply with the Electrical Code…
Three years ago when R.E.D. was first launched and taking on water…
…remember that?
…I remember the tears…
Anyway, we engaged the service of a Marine Engineer to inspect from top to bottom.
He couldn’t find the cause of the leak (although we discovered it later on)
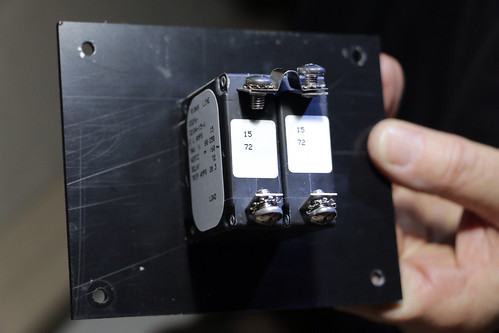
but what he did find was that our shore power connection did not meet code standards.
No circuit breaker or reverse polarity indicator.
…just a simple 15 amp breaker.
Sadly, there wasn’t one thing installed by the dealer
that was done correctly,
including the through hull with no caulking
that caused us to take on water our first night aboard,
and the furler installed up-side down.
The list is very long and the memories are still fresh
but we have moved on…
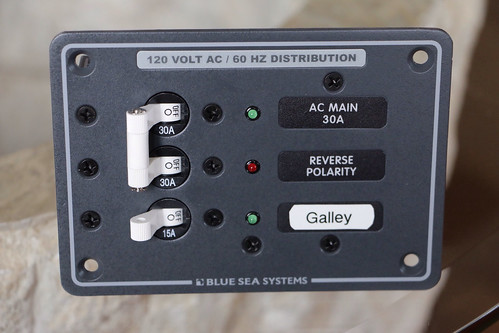
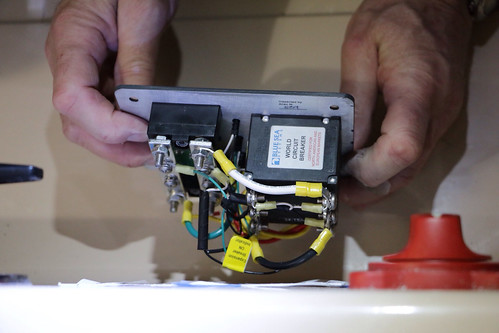
So to bring the shore power connection to code
we are installing a 120 volt distribution panel
with an extra connection for the Galley.
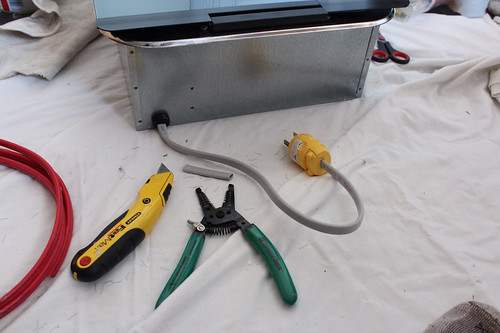
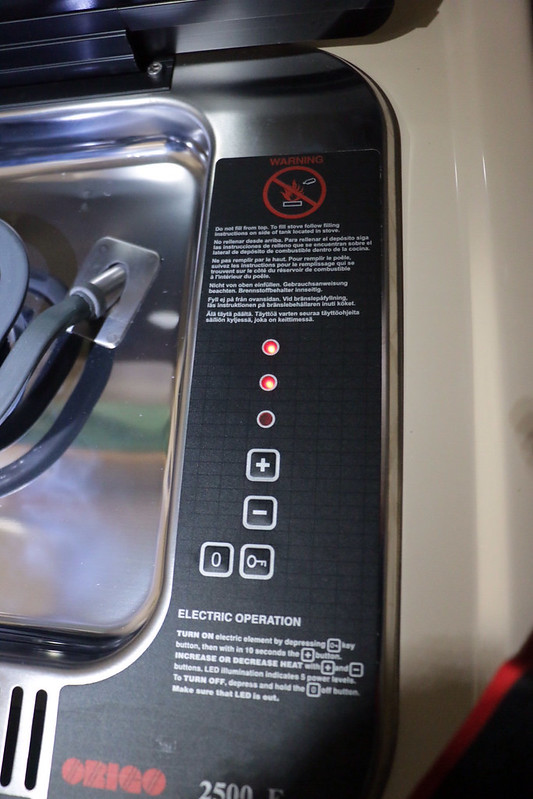
I was hands-on wiring my new combination alcohol/electric stove,
in Rhode Island.
We decided to install a 20 amp connector
instead of hard-wiring the new stove
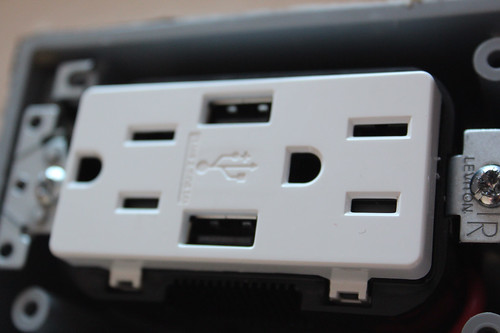
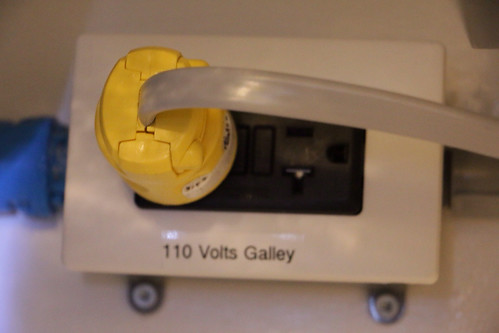
We also installed an extra outlet on the outside of the galley
for USB charging
and other stuff…
…because there’s always other stuff…
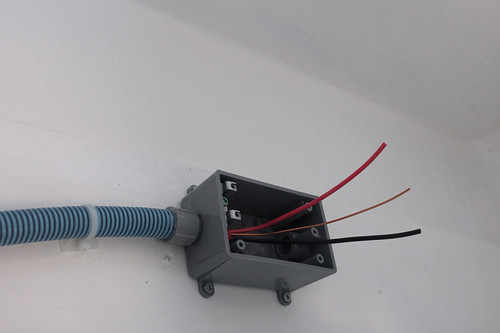
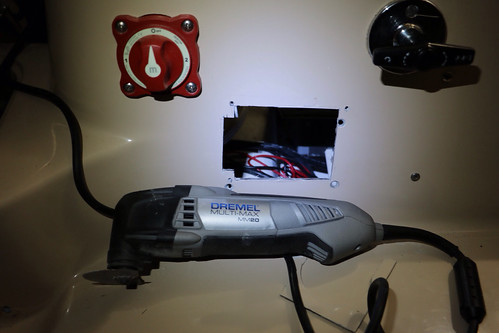
Back onboard to put it all together,
the Dremel cut through the fibreglass like going through butter.
…for a perfect fit.
is the importance of making sure everything is not only safely installed…
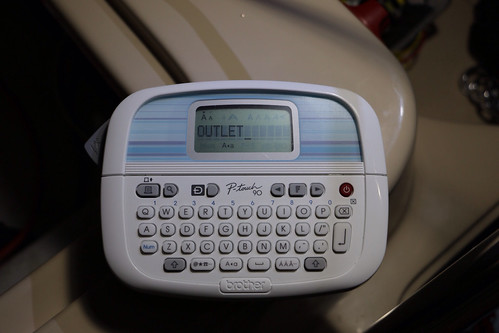
…but correctly and clearly labelled.
…all the connections,
…all the dials and gauges.
Now to test to make sure everything works.
It’s comforting to know that after all of this work,
when you flip the switch
all the lights that are supposed to come on,
do come on.
Next challenge will be to tackle the 12 volt ‘issues’.
Five connections on one battery terminal is not a good thing Mr. Dealer!

Apr 4, 2015 | Flotsam
This next project was more necessity driven
than just making little cosmetic changes or
modifications to make living on R.E.D. more convenient.
Opening and closing the companionway hatch was wearing the gelcoat,
in some places almost exposing the porous fibreglass.
Back to the internet forums for advice,
we discovered that some boat owners had remedied the problem
by applying teflon tape to protect the surface and to prevent further damage.
So when the winter weather started to improve,
we headed back to R.E.D. to remove all the strapping
to be able to remove the companionway hatch…
We purchased the teflon tape and marine adhesive…
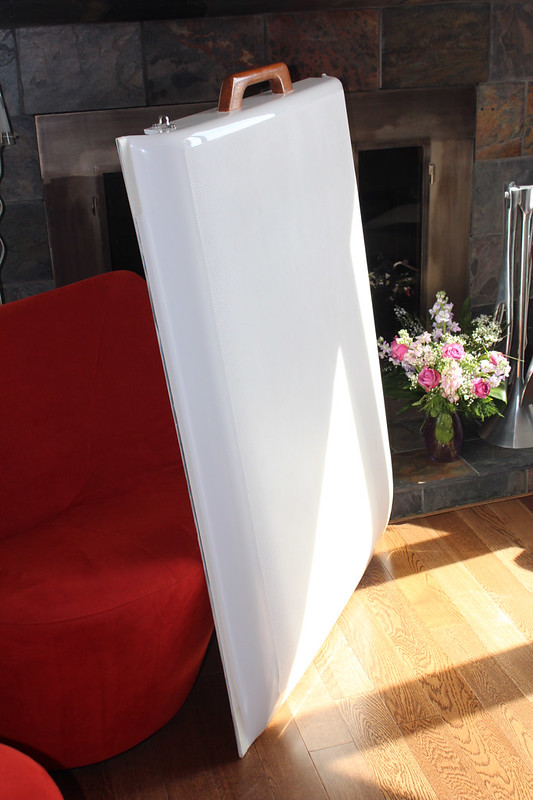
…and brought the companionway hatch back to the workroom,
AKA our livingroom…
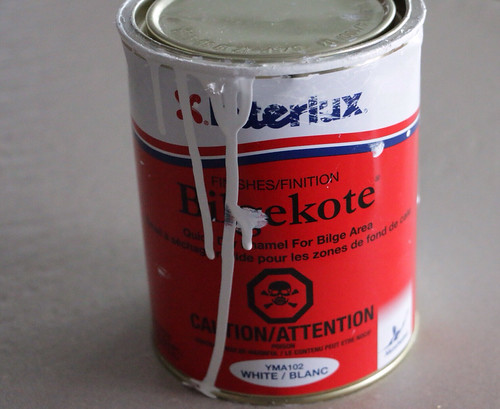
…it was also a good opportunity to paint the underside of the companionway hatch
with Captain’s new friend Bilgekote,
making it smooth as a baby’s bottom and easier to clean.
…teflon tape applied to the hatch edges…
…then back to apply the strips to the boat.
We needed temperatures above 4 ° C for proper curing time.
~ ~
The second part of this modification was more cosmetic driven…
During one of our first outings on our brand new boat two years ago,
my daughter commented that yes, it was a pretty boat
but ….
(just what every proud boat owner wants to hear is a ‘but’)
…’but boats with real wood are so much nicer’.
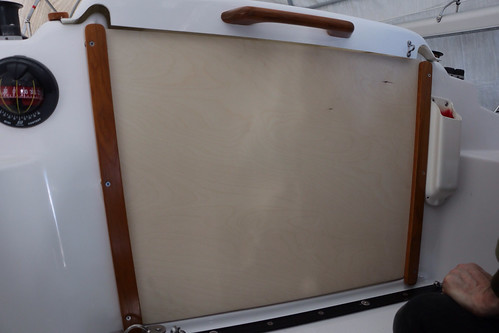
We had to agree that real wood trim is really beautiful,
so when it came time to tackle the companionway ‘rubbing’ problem
we decided to replace the white strapping.
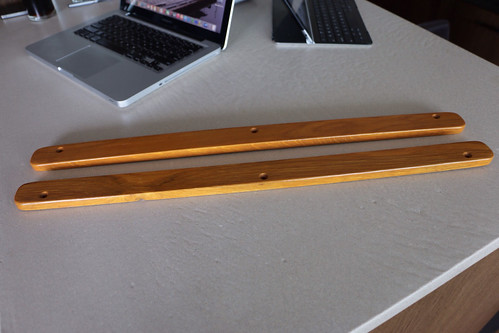
Captain’s choice: white oak…
…out with the (no so) old and in with the new…
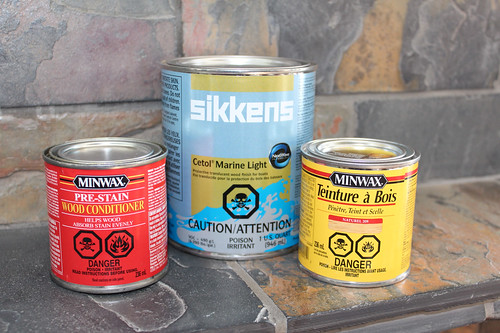
…wood primer, natural oak stain and Cetol (4 coats).
…givng results the colour of a fine single malt.
We then grabbed a small weather window,
a beautiful 15 ° C clear sunny day,
to put it all back together…
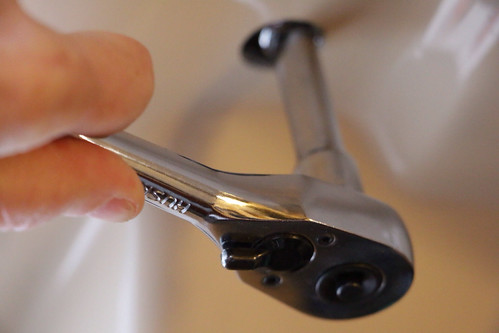
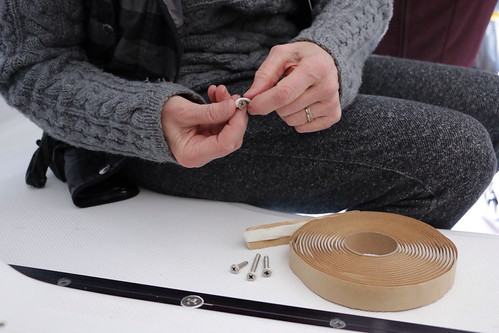
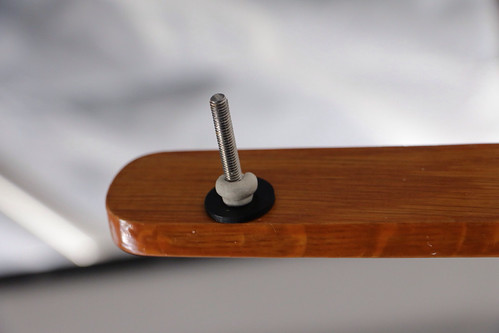
…This is my new favourite boat friend.
I had heard of Butyl tape
did I realize how useful it really was.
It provides the adhesive power of tape with the sealing power of caulking.
Captain remarked that this alone was worth the trip.
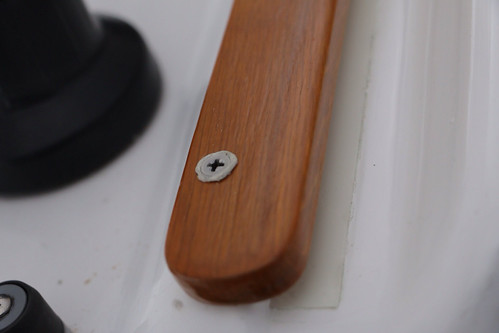
…a small amount around the screw head…
…and under the strapping to give added protection,
…and a good seal
between the wood and fibreglass.
All the hardware is back in place…
Now onto the next project…
…designing the companionway door.
Mar 27, 2015 | Flotsam
Storage on any boat is limited
and ours is no exception.
Just accessing some areas is difficult and at times frustrating
so we decided to follow the lead of one of our virtual MacGregor friends
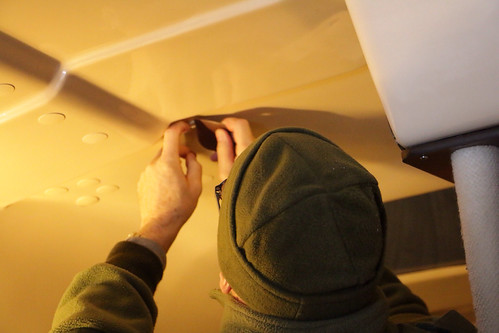
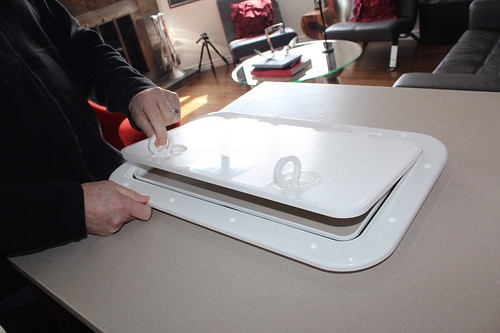
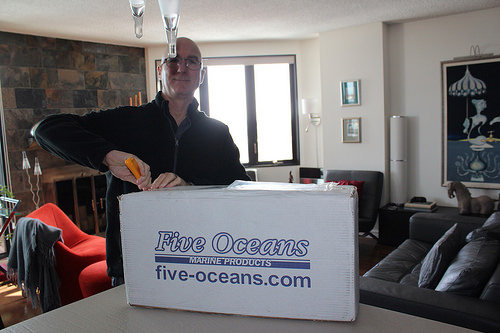
and order an access hatch.
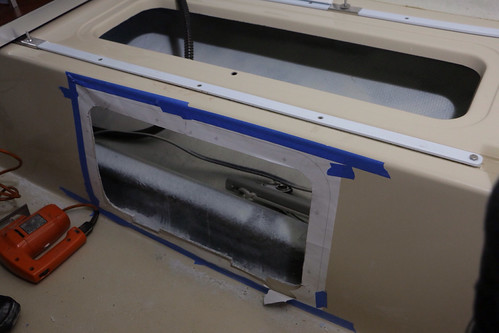
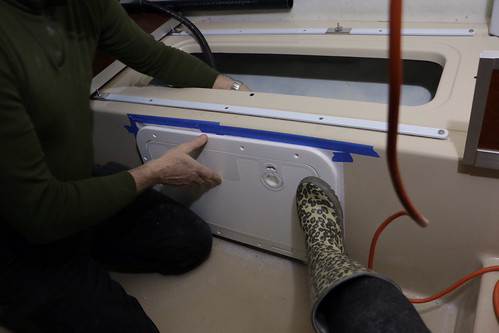
The perfect place to start will be to install it below the galley
so we ordered the larger rectangular model.
23″ x 13.75″
If this goes well will consider smaller ones later,
but François knows that anything that makes life easier for his Galley Kat,
creates smooth sailing for the Captain.
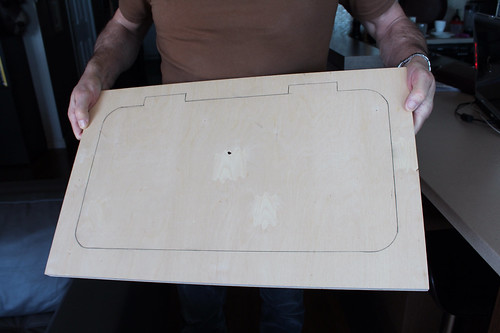
…for a backing plate to add strength to the fibreglass
and to ease installation…
…once the hole is cut.
…tracing the template, measuring twice.
…because cutting once will be our only option, says my confident Captain.
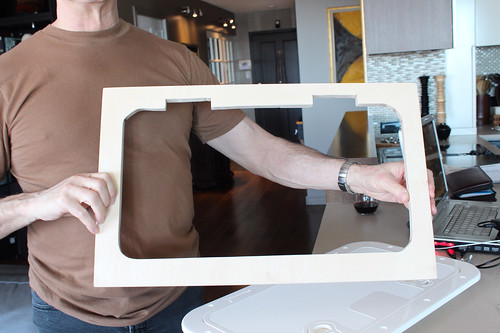
…my Galley’s belly opened and raw.
Time to see if it fits…
…this Galley Kat is always usually a big help.
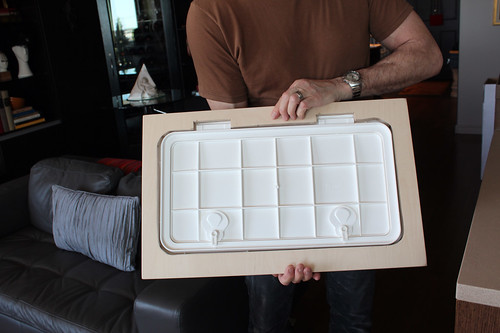
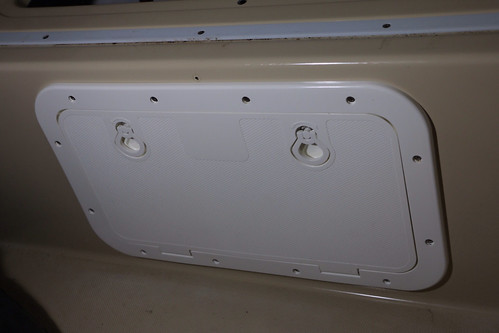
… a polymer glue added to the painted backing plate.
…perfect fit opened.
…perfect fit closed…
One more project completed,
making life onboard R.E.D.
just a little more comfortable.
…now to get on with the next job.